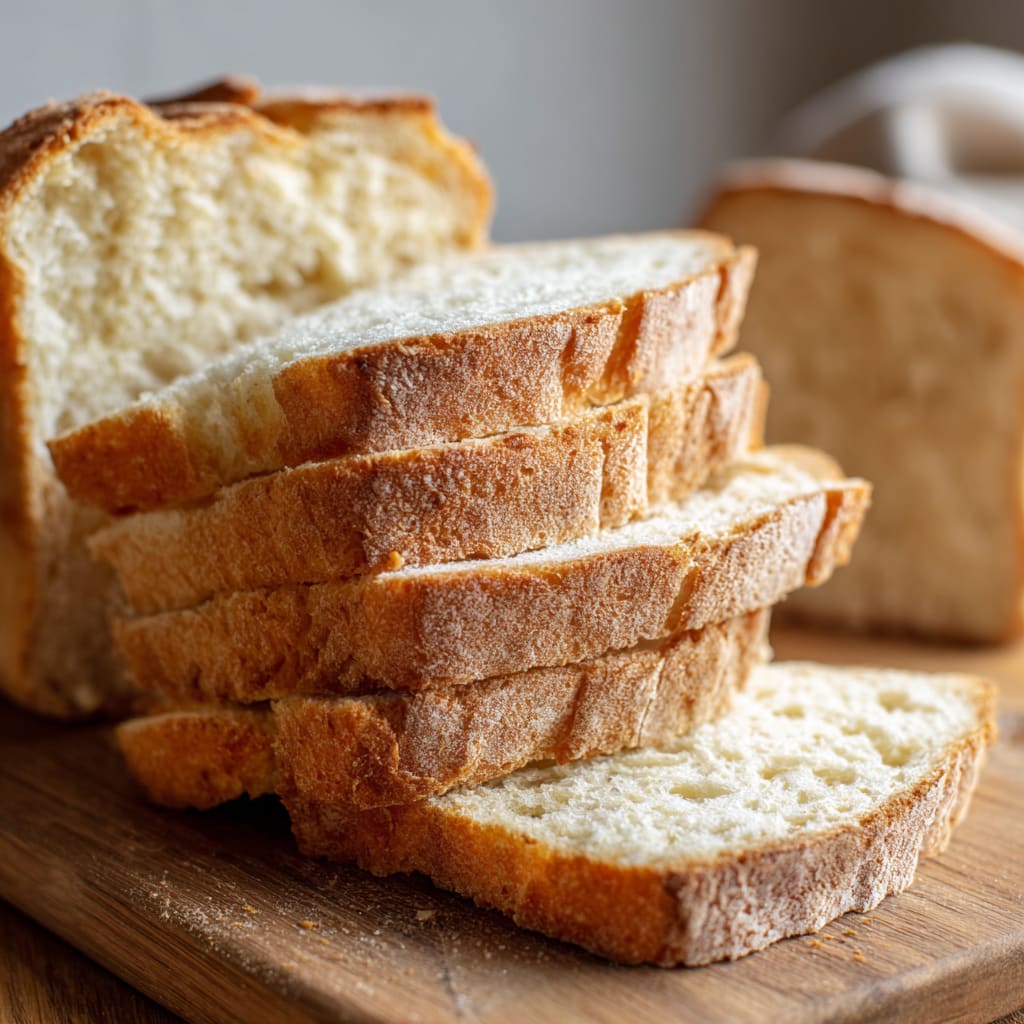
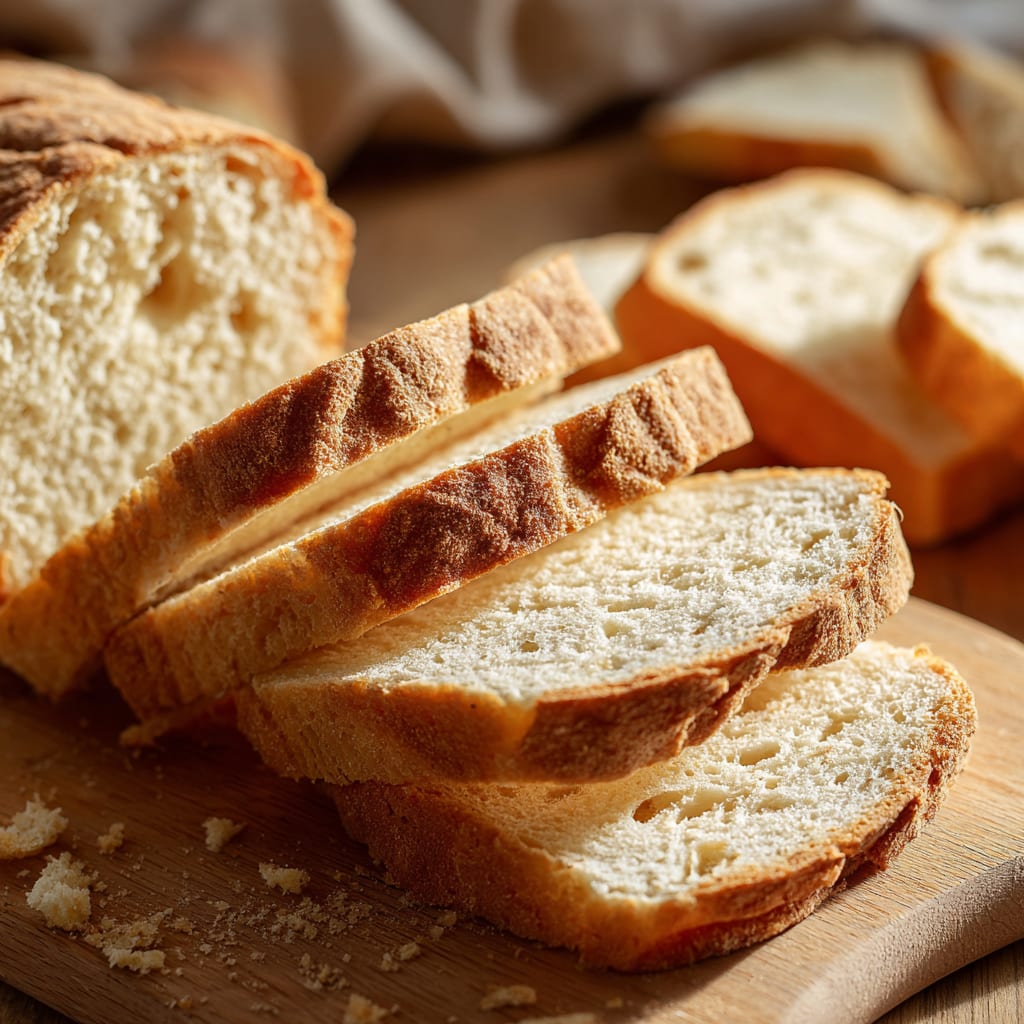
Imagine sinking your teeth into a slice of warm, pillowy Soft Homemade Gluten-Free Bread that doesn’t crumble at first touch. This fragrant, tender loaf defies everything you thought you knew about gluten-free baking. Unlike store-bought alternatives that often disappoint with their dry, dense texture, this Soft Homemade Gluten-Free Bread delivers a satisfying chew and delicate crumb that rivals traditional wheat bread. Perfect for sandwiches, toast, or simply enjoying with a smear of butter, this recipe will transform your gluten-free bread experience. You’ll learn the crucial techniques and ingredient combinations that create that elusive soft texture that gluten-free breads typically lack.
Why You’ll Love This Recipe
This Soft Homemade Gluten-Free Bread stands out from other recipes because it addresses the most common complaints about gluten-free bread – dryness and crumbliness. The carefully balanced blend of rice flour, tapioca starch, and sorghum flour creates a structure that maintains moisture while providing the perfect amount of stretch in each slice.
You’ll appreciate how the bread holds together beautifully when sliced thin for sandwiches, yet remains tender enough to enjoy fresh from the oven. The subtle sweetness from honey complements the mild tanginess from apple cider vinegar, creating a well-rounded flavor profile that doesn’t scream “gluten-free substitute.”
Best of all, while this recipe does require some specialty ingredients, the technique is straightforward. No complicated pre-ferments or special equipment beyond a standard mixer. Even gluten-free baking beginners will achieve impressive results with their first loaf of this Soft Homemade Gluten-Free Bread.
Ingredients List for the Soft Homemade Gluten-Free Bread
This ingredient list combines specialty gluten-free flours with pantry staples to create the perfect bread structure without gluten. Each component plays a crucial role in achieving that elusive soft texture.
- 1/4 cup warm water (about 100F/37C)
- 2 tbs honey
- 4.5 grams active yeast
- 260 g rice flour (white or brown is fine)
- 80 g tapioca starch (same as tapioca flour)
- 60 g sorghum flour (can substitute with buckwheat or oat flour)
- 4.5 grams xanthan gum
- 2 grams salt
- 3 eggs (room temperature)
- 1 tbs apple cider vinegar
- 1 1/4 cup water (about 100F/37C)
- 1/4 cup light olive oil (or any neutral flavored oil)
Pro Tips
For the perfect loaf of Soft Homemade Gluten-Free Bread, these three critical techniques will ensure success:
First, precise measurements are non-negotiable. Unlike conventional baking where approximations often work, gluten-free baking requires exact ratios. Always use a kitchen scale for measuring flours – even small variations can dramatically affect texture.
Second, don’t skimp on mixing time. Without gluten to develop, this bread relies on thorough mixing to incorporate air and create structure. The 1-2 minute mixing time is crucial – undermixing results in a dense loaf while overmixing can make it gummy.
Finally, temperature control makes or breaks this recipe. Ensure your rising environment is consistently warm (about 80-85°F/27-29°C). Too cool, and the bread won’t rise properly; too hot, and it might collapse during baking. For perfect results, monitor the bread’s rise and don’t let it exceed that critical 1/4″ height above the pan – this prevents the dreaded mid-bake collapse common in gluten-free breads.
Instructions
Step 1: Combine 1/4 cup warm water with 2 tbs honey and stir well. Mix in the yeast and let sit for 10 minutes to proof.
Step 2: Combine all dry ingredients in large mixing bowl and whisk together well.
Step 3: Add yeast mixture, 1 1/4 cups warm water, 1/4 cup oil, eggs, and apple cider vinegar to the dry ingredients.
Step 4: Using a hand or stand mixer, beat mixture for 1-2 minutes, scraping down sides of the bowl halfway. Dough will be like batter.
Step 5: Scoop bread batter into parchment lined loaf pan and tap pan on the counter a couple of times to help the dough fill the corners.
Step 6: Place bread dough in a warm location to rise for approximately 1 hour, checking after 45 minutes. The center of the loaf should be no more than 1/4″ above the edge of the loaf pan.
Step 7: Preheat oven 350 deg F (180 C).
Step 8: Bake uncovered for 45-60 minutes, until internal temperature taken with an instant-read thermometer registers at least 200F/93C.
Step 9: Let bread rest in the pan for 5 minutes before transferring to a cooling rack. Let cool completely before slicing.
Variations
Transform your basic Soft Homemade Gluten-Free Bread with these delicious variations:
For a Herb and Garlic loaf, add 2 teaspoons of dried Italian herbs and 1 tablespoon of garlic powder to the dry ingredients. This savory variation pairs beautifully with soups or as the base for grilled cheese sandwiches.
Create a Cinnamon Raisin version by adding 1 tablespoon of cinnamon to the dry ingredients and folding in 3/4 cup of soaked, drained raisins just before transferring the batter to the loaf pan. This sweet variation makes exceptional breakfast toast.
For those avoiding eggs, replace them with a mixture of 3 tablespoons of ground flaxseed mixed with 9 tablespoons of water (let sit for 5 minutes before adding). While the texture will be slightly different, this vegan gluten-free bread still maintains an impressive softness compared to most egg-free alternatives.
Storage and Serving
This Soft Homemade Gluten-Free Bread has different storage needs than conventional bread. For daily use, store completely cooled bread in an airtight container at room temperature for up to 2 days. Beyond that, slice the entire loaf and freeze it with parchment paper between slices for easy portion control. Frozen slices can be toasted directly from frozen and remain fresh for up to 3 months.
For serving, this bread makes exceptional toast – the slight exterior crispness contrasts beautifully with the soft interior. Try it as the foundation for avocado toast topped with a poached egg, or use it to create the perfect grilled cheese sandwich that won’t crumble apart.
For an elevated experience, lightly brush slices with olive oil and toast them on a grill pan before serving alongside soups or stews. The bread’s subtle flavor profile makes it versatile enough to complement both sweet and savory toppings without overwhelming them.
FAQs
Why did my bread collapse in the middle during baking?
The most common reason is over-rising. Gluten-free bread has a delicate structure and if it rises too much before baking, it will collapse. Make sure to follow the direction about the center not rising more than 1/4″ above the edge of the pan.
Can I substitute the xanthan gum?
Yes, you can substitute an equal amount of psyllium husk powder or guar gum. Each will produce slightly different results, with psyllium creating a more bread-like chew, though the color may be slightly darker.
Why is my bread gummy in the middle?
This usually happens when the bread is underbaked. Always verify doneness with an instant-read thermometer (200°F/93°C minimum) rather than relying solely on baking time or appearance.
Can I make this in a bread machine?
Yes, most bread machines with a gluten-free setting will work. Add ingredients in the order recommended by your machine manufacturer, typically liquids first, then dry ingredients with yeast last.
How can I make sure my Soft Homemade Gluten-Free Bread stays soft for longer?
Adding 1 tablespoon of potato flour (not potato starch) to the recipe helps retain moisture. Also, storing slices in the freezer rather than the refrigerator prevents the bread from drying out, as refrigeration accelerates staling in gluten-free breads.
The journey to perfect Soft Homemade Gluten-Free Bread might take a little practice, but the result – a tender, sliceable loaf that doesn’t fall apart – makes it well worth the effort. Whether you’re new to gluten-free baking or have been disappointed by previous attempts, this recipe’s balanced approach to ingredients and technique delivers a bread that stands on its own merits, not just as a “good for gluten-free” alternative.
Print
Soft Homemade Gluten-Free Bread
- Prep Time: 15 mins
- Cook Time: 30 mins
- Total Time: 45 mins
- Yield: 4 people 1x
- Category: Breakfast
- Method: Cooking
- Cuisine: American
Description
Discover how to make soft homemade gluten-free bread with this easy recipe. Enjoy baking without the gluten!
Ingredients
- 1/4 cup warm water ((about 100F/37C))
- 2 tbs honey
- 4.5 grams active yeast
- 260 g rice flour ((white or brown is fine))
- 80 g tapioca starch ((same as tapioca flour))
- 60 g sorghum flour ((can substitute with buckwheat or oat flour))
- 4.5 grams xanthan gum
- 2 grams salt
- 3 eggs (room temperature)
- 1 tbs apple cider vinegar
- 1 1/4 cup water ((about 100F/37C))
- 1/4 cup light olive oil ((or any neutral flavored oil))
Instructions
- Step 1: Combine 1/4 cup warm water with 2 tbs honey and stir well. Mix in the yeast and let sit for 10 minutes to proof.
- Step 2: Combine all dry ingredients in large mixing bowl and whisk together well.
- Step 3: Add yeast mixture, 1 1/4 cups warm water, 1/4 cup oil, eggs, and apple cider vinegar to the dry ingredients.
- Step 4: Using a hand or stand mixer, beat mixture for 1-2 minutes, scraping down sides of the bowl halfway. Dough will be like batter.
- Step 5: Scoop bread batter into parchment lined loaf pan and tap pan on the counter a couple of times to help the dough fill the corners.
- Step 6: Place bread dough in a warm location to rise for approximately 1 hour, checking after 45 minutes. The center of the loaf should be no more than 1/4″ above the edge of the loaf pan. (See note below.).
- Step 7: Preheat oven 350 deg F (180 C).
- Step 8: Bake uncovered for 45-60 minutes, until internal temperature taken with an instant-read thermometer registers at least 200F/93C.
- Step 9: Let bread rest in the pan for 5 minutes before transferring to a cooling rack. Let cool completely before slicing.
Notes
Try This Recipe and Leave a comment Below, your opinion matters to me!
Nutrition
- Serving Size: 4 serving
- Calories: 400
- Sugar: 5g
- Sodium: 400mg
- Fat: 10g
- Saturated Fat: 3g
- Unsaturated Fat: 7g
- Trans Fat: 0g
- Carbohydrates: 40g
- Fiber: 5g
- Protein: 15g
- Cholesterol: 50mg


