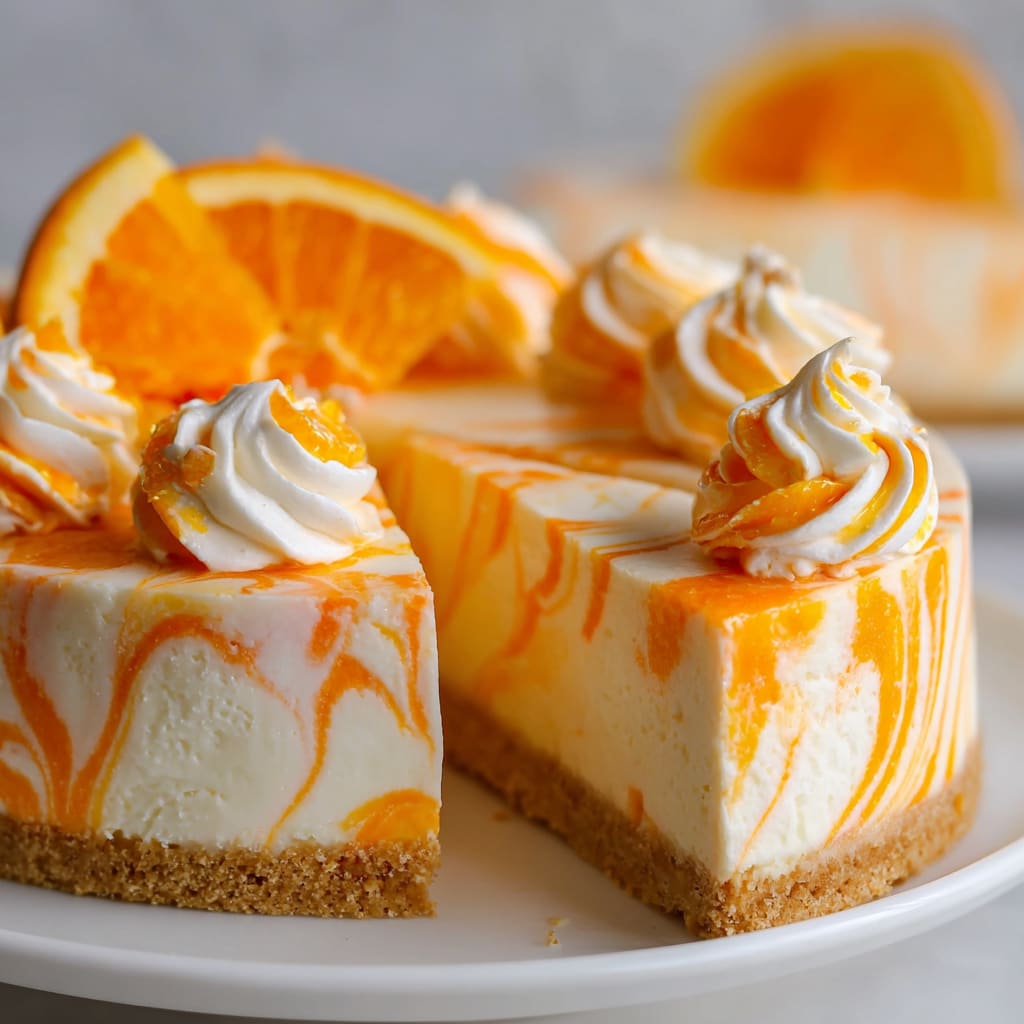
The silky, citrusy delight of a No-Bake Orange Creamsicle Cheesecake brings together the nostalgic flavor of summer popsicles in an elegant dessert form. Each velvety spoonful delivers a perfect balance of tangy orange and smooth vanilla cream that dances on your palate like sunshine in dessert form. This refreshing No-Bake Orange Creamsicle Cheesecake is ideal for warm weather gatherings when you don’t want to turn on your oven but still crave something spectacular. You’ll learn how to create this show-stopping dessert with minimal effort, using simple techniques that guarantee perfect results every time.
Why You’ll Love This Recipe
This No-Bake Orange Creamsicle Cheesecake will quickly become your go-to dessert for several compelling reasons. First, the no-bake aspect means you can create a stunning dessert without heating up your kitchen – perfect for summer entertaining or when you’re short on time but want maximum impact.
The texture contrasts are truly something special – a buttery, crisp graham cracker crust provides the perfect foundation for the cloud-like, creamy cheesecake filling. The orange flavor isn’t artificial or overwhelming but offers a bright, authentic citrus note that perfectly complements the rich creaminess.
What makes this orange creamsicle dessert extraordinary is how the tangy cream cheese harmonizes with the sweet orange elements, creating that nostalgic creamsicle flavor that transports you back to childhood summers. The ease of preparation coupled with its impressive presentation makes this cheesecake perfect for both weeknight treats and special occasions – it’s sure to garner compliments every time you serve it.
Ingredients
For the Crust:
- 2 cups (240g) graham cracker crumbs
- 2 tablespoons granulated sugar
- 1/2 cup (113g) unsalted butter, melted
For the Filling:
- 16 oz (454g) cream cheese, softened
- 2/3 cup (133g) granulated sugar
- 2 tablespoons fresh orange zest (from approximately 2 medium oranges)
- 1/4 cup (60ml) fresh orange juice
- 1 tablespoon orange extract
- 1 teaspoon vanilla extract
- 1 cup (240ml) heavy whipping cream, whipped to stiff peaks
- 1 envelope (2 1/4 teaspoons) unflavored gelatin
- 3 tablespoons cold water
- Orange food coloring (optional, 2-3 drops)
For the Topping:
- 1 cup (240ml) heavy whipping cream
- 3 tablespoons powdered sugar
- 1/2 teaspoon vanilla extract
- Orange slices and zest for garnish
The cream cheese provides the essential tangy base, while the combination of orange zest, juice, and extract creates the authentic creamsicle flavor profile. The gelatin ensures your No-Bake Orange Creamsicle Cheesecake sets properly without baking.
Pro Tips
Perfect Cream Cheese Consistency
Always ensure your cream cheese is properly softened before beginning. Cold cream cheese will create lumps in your cheesecake that are nearly impossible to fix later. For ideal consistency, leave cream cheese out at room temperature for at least 2 hours, or microwave in 10-second intervals until just softened but not melted. When beating the cream cheese, scrape down the sides of the bowl frequently to ensure a completely smooth base for your No-Bake Orange Creamsicle Cheesecake.
Gelatin Success
The gelatin is critical for the proper setting of this no-bake dessert. Always “bloom” the gelatin in cold water first until it becomes a thick, jelly-like consistency (about 5 minutes). When dissolving the bloomed gelatin, heat it gently – either in the microwave for 10 seconds or over a small water bath – until just liquefied but not hot. If the gelatin gets too hot, it can lose its setting power. Add the dissolved gelatin to your cheesecake mixture while it’s still warm, whisking quickly to incorporate before it sets.
Layering Technique
For a professional-looking cheesecake with distinct layers, chill your crust for at least 10 minutes before adding filling. After pouring in the filling, tap the pan gently on the counter several times to remove air bubbles, then smooth the top with an offset spatula for a perfectly level surface. If making the optional two-toned effect, refrigerate the first layer until slightly set (about 30 minutes) before adding the second color variation.
Instructions
Step 1: Prepare the Crust
In a medium bowl, combine graham cracker crumbs and sugar, then pour in melted butter. Mix until the mixture resembles wet sand and holds together when pressed. Press this mixture firmly into the bottom and slightly up the sides of a 9-inch springform pan using the flat bottom of a measuring cup. This creates an even, well-packed crust that won’t crumble when sliced. Place the crust in the refrigerator while you prepare the filling.
Step 2: Bloom the Gelatin
In a small bowl, sprinkle the unflavored gelatin over the cold water and let it sit for 5 minutes until it becomes translucent and gel-like. Once bloomed, microwave the mixture for 10 seconds or place the bowl in hot water until the gelatin dissolves completely and becomes clear. Set aside to cool slightly but don’t let it set.
Step 3: Prepare the Filling
In a large bowl, beat the softened cream cheese and granulated sugar with an electric mixer until smooth and fluffy, about 2 minutes. Add the orange zest, orange juice, orange extract, and vanilla extract, mixing until well combined. The mixture should be completely smooth with no lumps. If using food coloring, add it now for a subtle orange hue that enhances the visual appeal of your No-Bake Orange Creamsicle Cheesecake.
Step 4: Add Gelatin and Fold in Whipped Cream
With the mixer on low, slowly pour the dissolved gelatin into the cream cheese mixture and beat until fully incorporated. In a separate bowl, whip the heavy cream until stiff peaks form. Using a rubber spatula, gently fold the whipped cream into the cream cheese mixture in three additions, maintaining as much air as possible for a light and fluffy texture. The filling should be smooth, airy, and hold its shape.
Step 5: Assemble and Chill
Pour the filling over the chilled crust and smooth the top with an offset spatula. Tap the pan gently on the counter a few times to release any air bubbles. Cover with plastic wrap without touching the surface and refrigerate for at least 6 hours, preferably overnight. This lengthy chilling time is essential for your No-Bake Orange Creamsicle Cheesecake to set properly.
Step 6: Prepare Topping and Serve
When ready to serve, whip the cream for the topping with powdered sugar and vanilla until stiff peaks form. Pipe or spread the whipped cream on top of the chilled cheesecake. Garnish with fresh orange slices and additional zest for a beautiful presentation that hints at the flavors inside. Carefully remove the sides of the springform pan before slicing with a warm, clean knife for perfect portions.
Variations
White Chocolate Orange Creamsicle Cheesecake
For an even more decadent version, add 8 ounces of melted white chocolate (cooled slightly) to the cream cheese mixture before folding in the whipped cream. The white chocolate adds richness and helps the cheesecake set with an even creamier texture. This variation pairs particularly well with a garnish of white chocolate curls and candied orange peel for an elevated presentation of your No-Bake Orange Creamsicle Cheesecake.
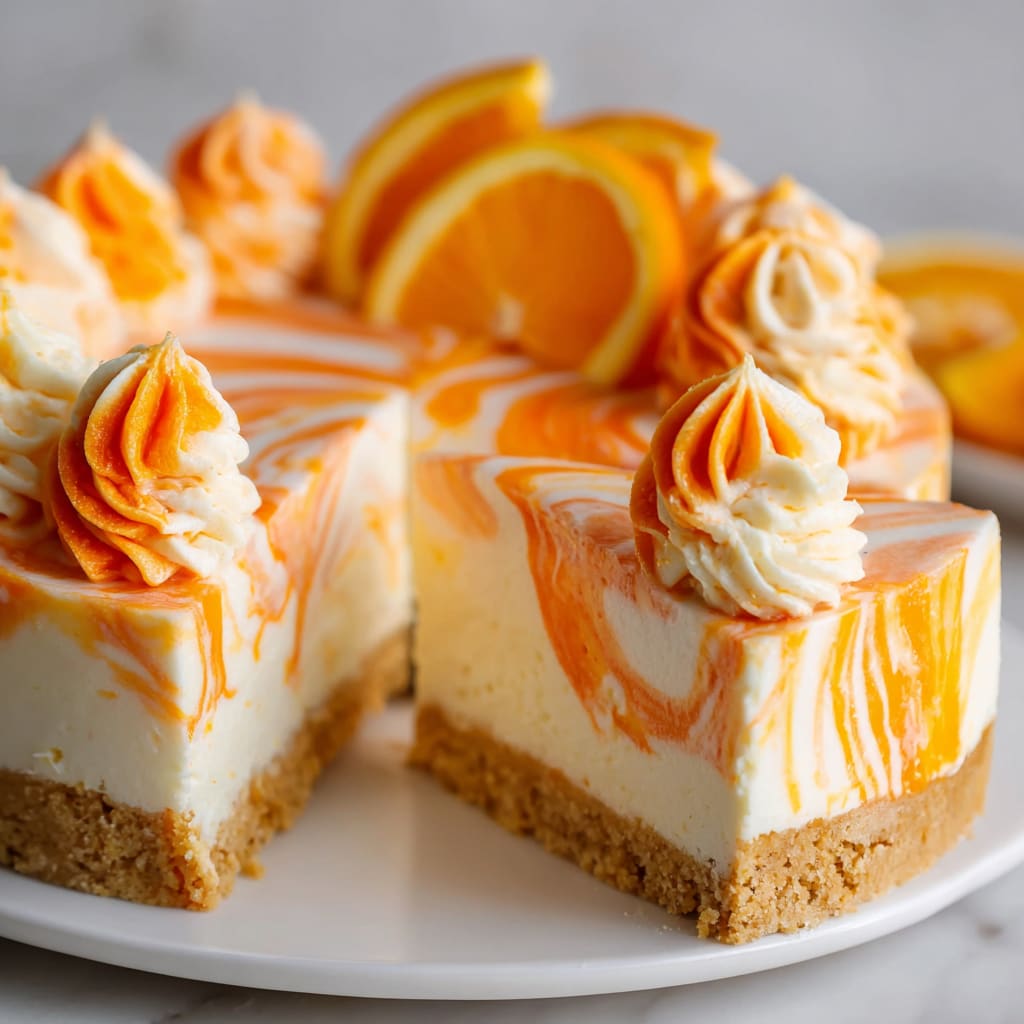
Layered Orange Vanilla Swirl
Create a striking visual effect by dividing your cheesecake mixture in half. Add orange zest, juice, extract, and orange food coloring to one half, leaving the other half flavored only with vanilla extract. Alternate spoonfuls of each mixture in your springform pan, then use a knife to create gentle swirls for a marbled effect. This creates a beautiful two-toned dessert that showcases both the orange and cream aspects of the classic creamsicle flavor.
Dairy-Free Orange Creamsicle Cheesecake
Replace the cream cheese with dairy-free cream cheese alternative and use coconut cream instead of heavy whipping cream. Chill the coconut cream overnight and use only the solid portion for whipping. This adaptation maintains the creamy texture while making the dessert accessible to those with dairy restrictions. The coconut adds a subtle tropical note that complements the orange beautifully.
Storage and Serving
This No-Bake Orange Creamsicle Cheesecake keeps beautifully in the refrigerator for up to 5 days when stored in an airtight container or covered tightly with plastic wrap. For the best texture and flavor, remove it from the refrigerator about 15-20 minutes before serving to take the chill off slightly – this allows the creamsicle flavors to become more pronounced.
For an elegant presentation, serve each slice on chilled dessert plates with a fresh sprig of mint and a small dollop of additional whipped cream. The cheesecake pairs wonderfully with a small scoop of vanilla ice cream on the side, creating a delightful temperature contrast that enhances the creamsicle experience.
For a delightful summer dessert option, you can also freeze individual slices for up to 2 months. Wrap each piece tightly in plastic wrap and then foil. Thaw frozen slices in the refrigerator overnight before serving for a ready-made treat that tastes freshly made.
FAQs
Why isn’t my cheesecake setting properly?
The most common reason is under-bloomed or overheated gelatin. Ensure you allow the gelatin to fully bloom in cold water before dissolving, and never let it get too hot. Another possibility is that your No-Bake Orange Creamsicle Cheesecake hasn’t chilled long enough – a minimum of 6 hours is necessary, but overnight is ideal.
Can I use bottled orange juice instead of fresh?
While fresh orange juice provides the best flavor, bottled juice can be substituted if necessary. However, don’t skip the fresh zest, as it contains essential oils that give the authentic orange flavor to your cheesecake.
My cheesecake has lumps – what went wrong?
Lumps typically occur when the cream cheese isn’t soft enough before beating. Always ensure cream cheese is at room temperature. If you notice lumps forming, try warming the mixture slightly by placing the bowl over another bowl of warm water and beating until smooth.
Can I make this in a regular pie dish instead of a springform pan?
Yes, a deep-dish pie plate works well as an alternative. Line it with parchment paper with overhanging edges to help lift the cheesecake out after chilling.
How do I prevent my whipped cream topping from weeping?
Stabilize your whipped cream by adding the powdered sugar when the cream reaches soft peaks, then continue whipping to stiff peaks. Apply the topping just before serving for the freshest presentation, or use a stabilized whipped cream recipe if you need to prepare it further in advance.

No-Bake Orange Creamsicle Cheesecake
- Prep Time: 30 minutes
- Cook Time: 0 minutes
- Total Time: 6 hours 30 minutes (including chilling time)
- Yield: 8–10 servings 1x
- Category: Dessert
- Method: chilling
- Cuisine: Americaine
Description
No-Bake Orange Creamsicle Cheesecake: A refreshing twist on classic dessert with cream cheese, orange, and graham crackers. Quick, creamy, crowd-pleasing treat.
Ingredients
- 2 cups graham cracker crumbs
- 2 tablespoons granulated sugar
- 1/2 cup unsalted butter, melted
- 16 oz cream cheese, softened
- 2/3 cup granulated sugar
- 2 tablespoons fresh orange zest (from approximately 2 medium oranges)
- 1/4 cup fresh orange juice
- 1 tablespoon orange extract
- 1 teaspoon vanilla extract
- 1 cup heavy whipping cream, whipped to stiff peaks
- 1 envelope unflavored gelatin
- 3 tablespoons cold water
- Orange food coloring (optional, 2-3 drops)
- 1 cup heavy whipping cream
- 3 tablespoons powdered sugar
- 1/2 teaspoon vanilla extract
- Orange slices and zest for garnish
Instructions
- Step 1: Prepare the Crust In a medium bowl, combine graham cracker crumbs and sugar, then pour in melted butter. Mix until the mixture resembles wet sand and holds together when pressed. Press this mixture firmly into the bottom and slightly up the sides of a 9-inch springform pan using the flat bottom of a measuring cup. This creates an even, well-packed crust that won’t crumble when sliced. Place the crust in the refrigerator while you prepare the filling.
- Step 2: Bloom the Gelatin In a small bowl, sprinkle the unflavored gelatin over the cold water and let it sit for 5 minutes until it becomes translucent and gel-like. Once bloomed, microwave the mixture for 10 seconds or place the bowl in hot water until the gelatin dissolves completely and becomes clear. Set aside to cool slightly but don’t let it set.
- Step 3: Prepare the Filling In a large bowl, beat the softened cream cheese and granulated sugar with an electric mixer until smooth and fluffy, about 2 minutes. Add the orange zest, orange juice, orange extract, and vanilla extract, mixing until well combined. The mixture should be completely smooth with no lumps. If using food coloring, add it now for a subtle orange hue that enhances the visual appeal of your No-Bake Orange Creamsicle Cheesecake.
- Step 4: Add Gelatin and Fold in Whipped Cream With the mixer on low, slowly pour the dissolved gelatin into the cream cheese mixture and beat until fully incorporated. In a separate bowl, whip the heavy cream until stiff peaks form. Using a rubber spatula, gently fold the whipped cream into the cream cheese mixture in three additions, maintaining as much air as possible for a light and fluffy texture. The filling should be smooth, airy, and hold its shape.
- Step 5: Assemble and Chill Pour the filling over the chilled crust and smooth the top with an offset spatula. Tap the pan gently on the counter a few times to release any air bubbles. Cover with plastic wrap without touching the surface and refrigerate for at least 6 hours, preferably overnight. This lengthy chilling time is essential for your No-Bake Orange Creamsicle Cheesecake to set properly.
- Step 6: Prepare Topping and ServeWhen ready to serve, whip the cream for the topping with powdered sugar and vanilla until stiff peaks form. Pipe or spread the whipped cream on top of the chilled cheesecake. Garnish with fresh orange slices and additional zest for a beautiful presentation that hints at the flavors inside. Carefully remove the sides of the springform pan before slicing with a warm, clean knife for perfect portions.
- ‘
Notes
Fresh ingredients will always yield the best flavor results.
Nutrition
- Serving Size: 1 slice (1/10 of cheesecake)
- Calories: 420
- Sugar: 25g
- Sodium: 300mg
- Fat: 30g
- Saturated Fat: 18g
- Unsaturated Fat: 10g
- Trans Fat: 0g
- Carbohydrates: 33g
- Fiber: 1g
- Protein: 5g
- Cholesterol: 90mg


