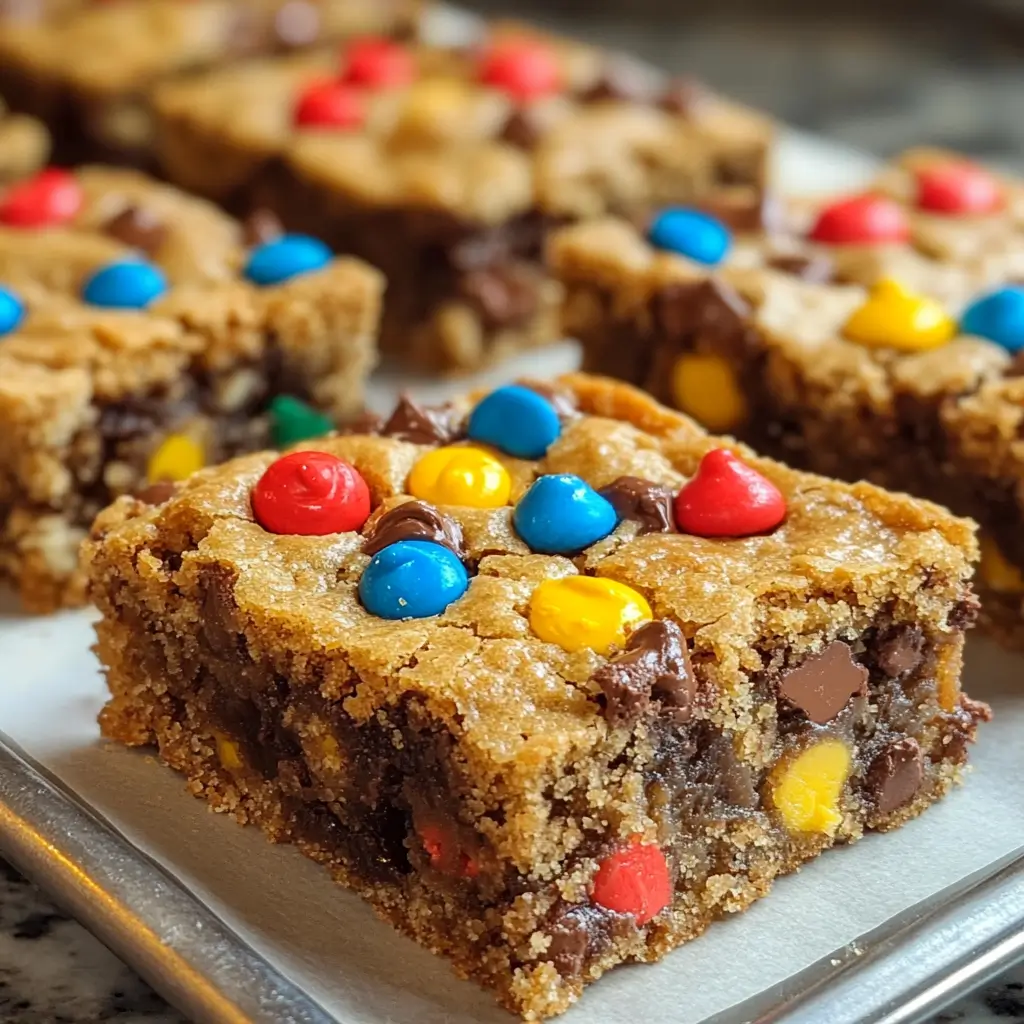
Imagine biting into a chewy, sweet treat loaded with colorful M&Ms, crunchy peanuts, and rich chocolate chips all held together by a peanut butter oatmeal base. These irresistible Monster Cookie Bars deliver all the flavor of classic monster cookies but in an easy-to-make bar form that’s perfect for feeding a crowd. The contrast between the soft, buttery interior and the slight crispness around the edges creates a texture sensation that will have everyone reaching for seconds. You’ll learn how to create these crowd-pleasing Monster Cookie Bars with simple ingredients and foolproof techniques that guarantee delicious results every time.
Why You’ll Love This Recipe
These Monster Cookie Bars are about to become your new go-to dessert for so many reasons. First, they’re incredibly simple to prepare—no scooping or rolling individual cookies required! Just press the dough into a pan, bake, and slice. The time-saving aspect alone makes these cookie bars a winner for busy bakers.
The flavor profile is unmatched—creamy peanut butter, hearty oats, brown sugar, and butter create a rich base that supports the perfect balance of sweet M&Ms, semisweet chocolate chips, and crunchy peanuts. Each bite delivers a different texture experience, from the chew of the oats to the snap of the candy coating and the melt-in-your-mouth chocolate.
Perhaps best of all, these Monster Cookie Bars are extremely versatile. They’re perfect for bake sales, potlucks, after-school snacks, holiday cookie platters, or simply satisfying your sweet tooth at home. They travel well and stay fresh for days, making them ideal for make-ahead treats.
Ingredients
For these incredible Monster Cookie Bars, you’ll need:
- 1/2 cup (115g) unsalted butter, softened
- 1 cup (250g) creamy peanut butter
- 1 cup (200g) light brown sugar, packed
- 1/2 cup (100g) granulated sugar
- 2 large eggs, at room temperature
- 2 teaspoons vanilla extract
- 1 1/2 cups (150g) old-fashioned rolled oats
- 1 cup (125g) all-purpose flour
- 1 teaspoon baking soda
- 1/2 teaspoon salt
- 1 cup (200g) M&Ms candies
- 1 cup (175g) semisweet chocolate chips
- 1/2 cup (75g) roasted peanuts (optional)
The peanut butter serves as the foundation for these bars, providing that distinctive monster cookie flavor, while the combination of brown and white sugars creates the perfect chewy texture. Old-fashioned rolled oats (not quick oats) give the bars their hearty structure and signature chew.
Pro Tips
Balance Your Mix-ins
The beauty of Monster Cookie Bars lies in their perfect balance of mix-ins. While it might be tempting to overload your bars with extra candies and chocolate, stick to the recommended amounts. Too many add-ins can prevent the bars from holding together properly. If you want to customize, keep the total volume of mix-ins around 2 1/2 cups, substituting ingredients as desired.
Perfect Baking Time
The secret to perfectly chewy Monster Cookie Bars is to slightly underbake them. When the edges are just golden and the center appears almost set but still slightly soft, remove them from the oven. They’ll continue cooking in the hot pan as they cool. This technique delivers that bakery-quality chewy texture rather than dry, crumbly bars. For a 9×13 pan, this usually means 22-25 minutes at 350°F, but always trust your eyes over the timer.
Parchment Paper Is Your Friend
Line your baking pan with parchment paper with overhanging edges to create handles. This not only prevents sticking but allows you to lift the entire slab of cookie bars out of the pan for easy, clean cutting. Let the bars cool completely before lifting and cutting for the neatest squares.
Instructions
Step 1: Prepare Your Equipment
Preheat your oven to 350°F (175°C). Line a 9×13-inch baking pan with parchment paper, leaving some overhang on the sides to easily lift the bars out later. Lightly spray the parchment with non-stick cooking spray.
Step 2: Cream the Wet Ingredients
In a large mixing bowl, beat the softened butter and peanut butter together until smooth and fully combined, about 2 minutes. Add both brown and white sugars and continue beating until light and fluffy, approximately 3-4 minutes. This creates the airy structure that makes these Monster Cookie Bars so irresistible.
Step 3: Add Eggs and Vanilla
Beat in the eggs one at a time, making sure each is fully incorporated before adding the next. Scrape down the sides of the bowl with a spatula to ensure everything is well mixed. Add the vanilla extract and mix until combined. The mixture should look smooth and glossy at this point.
Step 4: Incorporate Dry Ingredients
In a separate bowl, whisk together the oats, flour, baking soda, and salt. Gradually add this dry mixture to the wet ingredients, mixing on low speed just until combined. Overmixing will develop the gluten in the flour, resulting in tougher bars, so stop mixing as soon as the flour disappears.
Step 5: Add the Mix-ins
Gently fold in the M&Ms, chocolate chips, and peanuts (if using) with a spatula. Reserve about 1/4 cup of the M&Ms and chocolate chips to sprinkle on top later for a picture-perfect finish.
Step 6: Bake to Perfection
Press the dough evenly into the prepared baking pan. Sprinkle the reserved M&Ms and chocolate chips on top, gently pressing them into the surface. Bake for 22-25 minutes until the edges are lightly golden and the center appears set but still slightly soft. Remember, slightly underbaking is key to achieving that perfect chewy texture in your Monster Cookie Bars.
Step 7: Cool and Cut
Allow the bars to cool completely in the pan on a wire rack before lifting them out using the parchment paper handles. For the cleanest cuts, refrigerate for about 30 minutes before slicing into squares or rectangles with a sharp knife.
Variations
Holiday Monster Cookie Bars
Transform these Monster Cookie Bars for any holiday by swapping regular M&Ms for seasonal colors. Use red and green for Christmas, pastels for Easter, or orange and brown for Halloween. You can also add 1/2 teaspoon of cinnamon and a pinch of nutmeg to the batter for a warm, spiced holiday flavor that pairs beautifully with the peanut butter and oats.
Chocolate Lover’s Monster Bars
For an extra chocolate punch, replace the all-purpose flour with 3/4 cup cocoa powder plus 1/4 cup flour. Add 1/2 cup white chocolate chips along with the regular chocolate chips and M&Ms. The result is a decadent double-chocolate version of the classic Monster Cookie Bars that will satisfy even the most intense chocolate cravings.
Gluten-Free Monster Cookie Bars
These bars adapt beautifully to gluten-free diets. Simply substitute the all-purpose flour with a 1:1 gluten-free baking blend, and ensure your oats are certified gluten-free. The peanut butter and eggs provide enough binding power that these bars hold together perfectly even without gluten.
Storage and Serving
Store your Monster Cookie Bars in an airtight container at room temperature for up to 5 days. For longer storage, place a sheet of parchment paper between layers to prevent sticking. You can also refrigerate them for up to 10 days, which makes them slightly firmer but equally delicious.
For freezing, wrap the cooled bars individually in plastic wrap, then place in a freezer bag for up to 3 months. Thaw at room temperature for about an hour before enjoying, or microwave for 15-20 seconds for that fresh-baked warmth.
For an extra-special dessert, serve warm Monster Cookie Bars with a scoop of vanilla ice cream on top and a drizzle of chocolate sauce. The contrast between the warm, chewy bar and cold, creamy ice cream creates an irresistible dessert experience.
For a fun twist at parties, create a Monster Cookie Bar sundae bar where guests can top their bars with various ice cream flavors, whipped cream, sprinkles, and sauces.
FAQs
Can I use crunchy peanut butter instead of creamy?
Yes! Crunchy peanut butter works perfectly in Monster Cookie Bars and adds extra texture. If using crunchy peanut butter, you might want to reduce or eliminate the additional peanuts in the recipe to maintain the right texture balance.
Why did my bars turn out dry?
The most common cause of dry bars is overbaking. Remember that Monster Cookie Bars should be removed from the oven when the edges are just golden and the center still looks slightly underdone. They’ll continue to set as they cool.
Can I use quick oats instead of old-fashioned?
While quick oats will work in a pinch, they absorb more moisture and create a different texture. For the best Monster Cookie Bars with the classic chewy texture, stick with old-fashioned rolled oats.
How do I know when the bars are done baking?
The bars are done when the edges are light golden brown and the center appears mostly set but still slightly soft when gently pressed. A toothpick inserted in the center should come out with a few moist crumbs, not completely wet batter.
Can I double this recipe?
Absolutely! Double all ingredients and bake in two 9×13 pans, or use a large sheet pan (approximately 13×18 inches). The baking time will remain roughly the same, but watch carefully as oven temperatures and pan sizes can affect cooking times.
Conclusion
These Monster Cookie Bars are comfort food at its finest — a perfect blend of nostalgic flavors and textures transformed into an easy-to-make, crowd-pleasing dessert. The combination of peanut butter, oats, chocolate, and colorful candies creates a treat that’s both visually appealing and irresistibly delicious. It’s the kind of dessert that brings people together, whether at family gatherings, school functions, or holiday celebrations. With their simple preparation and huge flavor impact, these bars prove that sometimes the most beloved recipes are the ones that bring joy without complication.
Print
Monster Cookie Bars
Description
These Monster Cookie Bars pack all the flavors of your favorite monster cookies with half the effort – just press, bake, and slice for a chewy, candy-loaded treat everyone will devour.
Ingredients
- 1/2 cup (115g) unsalted butter, softened
- 1 cup (250g) creamy peanut butter
- 1 cup (200g) light brown sugar, packed
- 1/2 cup (100g) granulated sugar
- 2 large eggs, at room temperature
- 2 teaspoons vanilla extract
- 1 1/2 cups (150g) old-fashioned rolled oats
- 1 cup (125g) all-purpose flour
- 1 teaspoon baking soda
- 1/2 teaspoon salt
- 1 cup (200g) M&Ms candies
- 1 cup (175g) semisweet chocolate chips
- 1/2 cup (75g) roasted peanuts (optional)
Instructions
- Preheat your oven to 350°F (175°C). Line a 9×13-inch baking pan with parchment paper, leaving overhang on sides for easy removal.
- In a large bowl, beat butter and peanut butter until smooth. Add both sugars and beat until light and fluffy, about 3-4 minutes.
- Beat in eggs one at a time, then add vanilla extract and mix until combined.
- In a separate bowl, whisk together oats, flour, baking soda, and salt. Gradually add to wet ingredients, mixing just until combined.
- Fold in M&Ms, chocolate chips, and peanuts (if using), reserving about 1/4 cup of candies and chips for topping.
- Press dough evenly into prepared pan. Sprinkle reserved M&Ms and chocolate chips on top, gently pressing them into the surface.
- Bake for 22-25 minutes until edges are golden and center appears mostly set but still slightly soft.
- Cool completely in pan on a wire rack before lifting out using parchment paper handles.
- For cleanest cuts, refrigerate for 30 minutes before slicing into squares.


