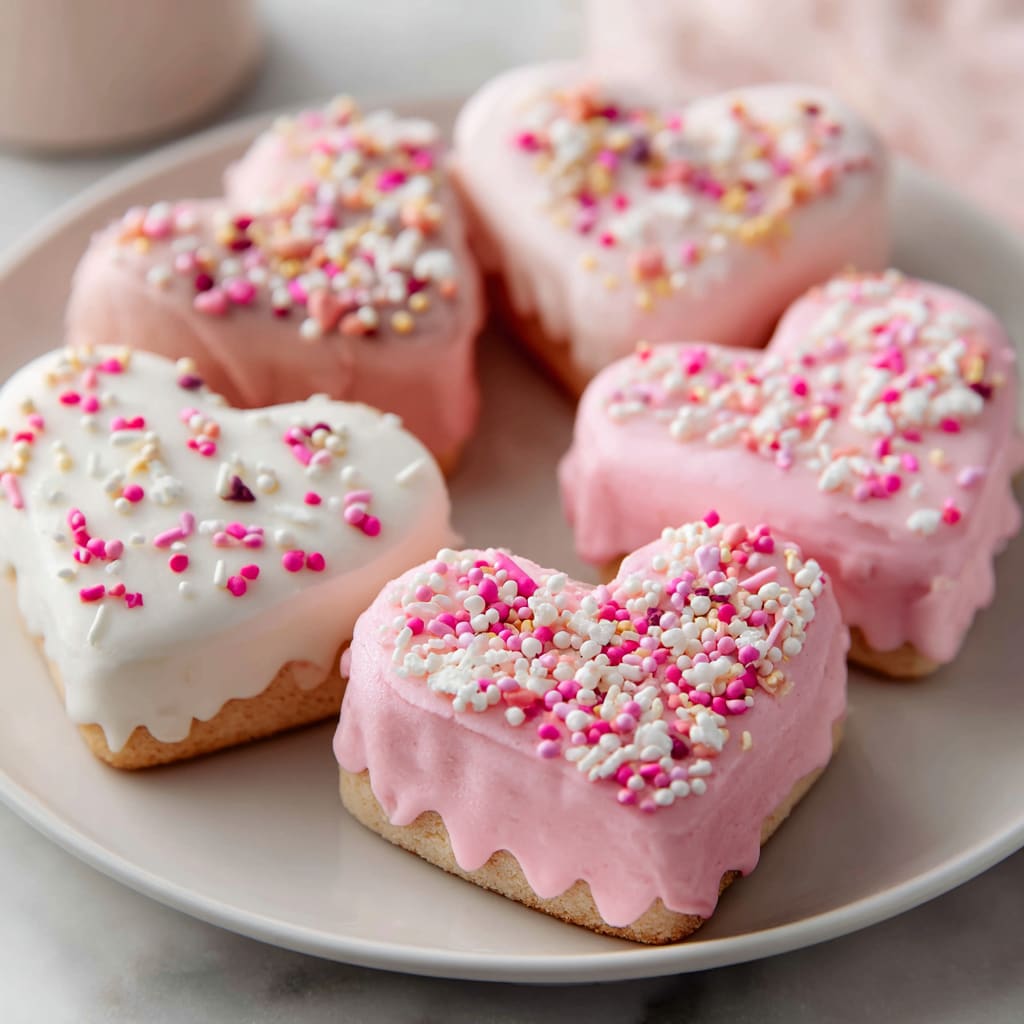
Imagine biting into a velvety, moist mini heart shaped cake that melts in your mouth with each delectable bite. These adorable, perfectly portioned treats bring instant joy with their charming appearance and rich, indulgent flavor. Whether you’re celebrating Valentine’s Day, an anniversary, or simply want to show someone you care, these mini heart shaped cakes create an irresistible centerpiece for any occasion. The contrast between the tender crumb interior and smooth frosting creates a textural symphony that elevates the entire dessert experience. You’ll learn how to create these impressive little delights with simple ingredients and foolproof techniques that guarantee success every time.
Why You’ll Love This Recipe
These mini heart shaped cakes are about to become your new favorite dessert to make and share. First, their adorable appearance instantly elevates any occasion—no professional decorating skills required! The recipe strikes the perfect balance between a light, tender crumb and rich, indulgent flavor that keeps everyone reaching for “just one more.”
What truly sets these heart cakes apart is their versatility. The base recipe can be customized with countless flavor combinations while maintaining that perfect texture—slightly dense yet incredibly moist with a delicate springiness that signals a perfectly baked cake. Each bite delivers a harmonious blend of buttery vanilla notes complemented by your choice of frosting.
Perhaps best of all, despite their impressive appearance, these mini heart shaped cakes are surprisingly straightforward to prepare. The batter comes together in minutes, and the individual portions mean quicker baking times than traditional layer cakes. They’re also ideal for gifting or serving at gatherings where individual desserts eliminate the need for messy cutting and serving.
Ingredients
For the Mini Heart Shaped Cakes:
- 1½ cups (190g) all-purpose flour – sifted for the lightest texture
- 1 cup (200g) granulated sugar – provides the perfect sweetness
- ½ cup (113g) unsalted butter, softened – creates richness and tender crumb
- 2 large eggs, room temperature – ensures proper cake structure
- ⅔ cup (160ml) whole milk – adds moisture and tenderness
- 2 teaspoons (10ml) pure vanilla extract – for authentic flavor depth
- 1½ teaspoons baking powder – for proper rise
- ¼ teaspoon salt – enhances all flavors
For the Frosting:
- 2 cups (240g) powdered sugar, sifted – ensures a smooth texture
- ½ cup (113g) unsalted butter, softened – creates a silky base
- 2 tablespoons heavy cream – for perfect spreadable consistency
- 1 teaspoon pure vanilla extract – complements the cake flavors
- Pink or red food coloring (optional) – for festive appearance
- Sprinkles, heart-shaped candies, or edible glitter (optional) – for decorating
Pro Tips
Perfect Texture Control: The key to irresistibly tender mini heart shaped cakes lies in your mixing technique. Once you add flour to the wet ingredients, mix just until combined—roughly 10-15 seconds with an electric mixer on low speed. Overmixing activates gluten, resulting in tough cakes. You’ll know you’ve reached the perfect consistency when the batter is smooth but still drops heavily from your spatula.
Temperature Matters: Always ensure your refrigerated ingredients (butter, eggs, milk) reach room temperature before beginning. This simple step prevents the batter from curdling and promotes even mixing. For butter, the ideal consistency should allow you to press a finger gently into it, leaving an indentation while still maintaining its shape. If you’re short on time, cut butter into small cubes to speed warming, place eggs in warm (not hot) water for 5 minutes, and microwave milk for 10-15 seconds.
Perfect Release Every Time: Properly preparing your heart-shaped pans guarantees beautiful results. First, apply a thin layer of softened butter to every crevice of the pan using your fingertips or a pastry brush. Follow with a light dusting of flour, tapping out excess. For chocolate cakes, use cocoa powder instead of flour to avoid white residue. Fill pans only ⅔ full to prevent overflow during baking, and tap filled pans gently on the counter 2-3 times to release air bubbles before baking.
Instructions
Step 1: Prepare Your Baking Pans
Preheat your oven to 350°F (175°C). Take your mini heart-shaped pan and thoroughly grease each cavity with butter or baking spray. For extra insurance against sticking, dust lightly with flour, tapping out any excess. If you don’t have a specialized heart pan, line a standard muffin tin with heart-shaped paper liners as a convenient alternative.
Step 2: Mix The Dry Ingredients
In a medium bowl, whisk together the flour, baking powder, and salt. This pre-mixing ensures these ingredients will be evenly distributed throughout your mini heart shaped cakes, preventing any pockets of baking powder that could create bitter spots or uneven rising.
Step 3: Cream Butter And Sugar
In a large bowl, beat the softened butter with an electric mixer until creamy and lightened in color, about 1 minute. Gradually add the granulated sugar and continue beating for 3-4 minutes until the mixture becomes fluffy and pale. This extended creaming process incorporates air into the batter, creating the foundation for tender, light-textured cakes.
Step 4: Add Eggs And Vanilla
Add eggs one at a time, beating well after each addition. Be sure to scrape down the sides of the bowl between additions to ensure everything mixes evenly. Mix in the vanilla extract. Don’t worry if the mixture looks slightly curdled at this stage—it will come together when you add the dry ingredients.
Step 5: Alternate Wet And Dry Ingredients
Add one-third of the flour mixture to the butter mixture, mixing on low speed just until combined. Pour in half the milk, mixing gently. Repeat with another third of flour, the remaining milk, and finish with the last third of flour. This alternating method prevents overmixing while ensuring all ingredients blend properly.
Step 6: Bake The Cakes
Spoon or pipe the batter into your prepared heart-shaped cavities, filling each about two-thirds full. Tap the pan gently on the counter to release any air bubbles. Bake in the preheated oven for 15-18 minutes, or until the tops spring back when lightly touched and a toothpick inserted in the center comes out clean or with a few moist crumbs.
Step 7: Cool And Prepare Frosting
Allow the mini heart shaped cakes to cool in the pan for 10 minutes before carefully removing them to a wire rack to cool completely. Meanwhile, prepare the frosting by beating the softened butter until creamy, then gradually adding powdered sugar, heavy cream, and vanilla. Add food coloring if desired, beating until smooth and fluffy.
Step 8: Decorate Your Heart Cakes
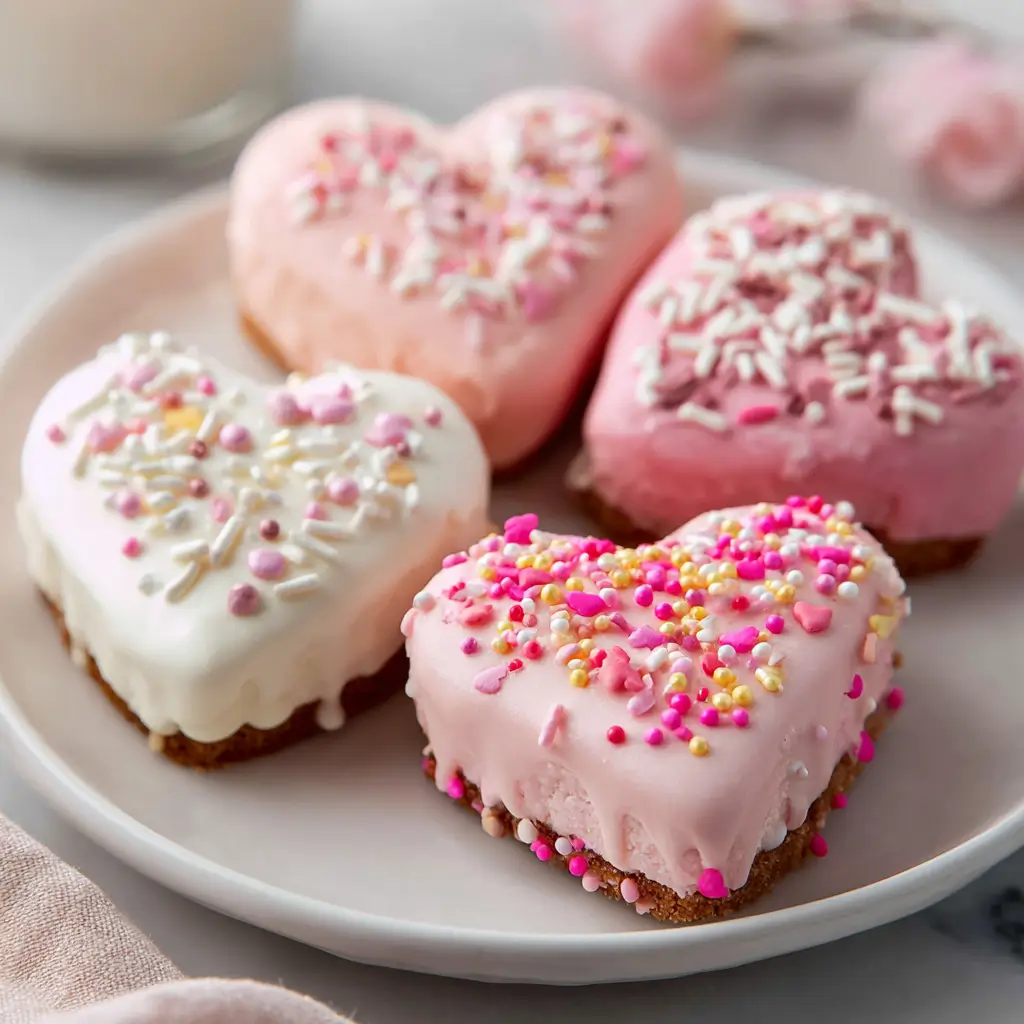
Once completely cooled, frost your cakes using a piping bag with a decorative tip or simply spread frosting with an offset spatula. Add sprinkles, heart candies, or edible glitter while the frosting is still soft. For a professional touch, place decorated cakes in the refrigerator for 15 minutes to set the frosting before serving.
Variations
Chocolate Lovers’ Heart Cakes: Transform these mini heart shaped cakes into chocolate delights by replacing 3 tablespoons of flour with unsweetened cocoa powder. For even more chocolate intensity, fold ½ cup mini chocolate chips into the batter just before baking. Pair with chocolate ganache frosting by heating ½ cup heavy cream to a simmer, pouring over 1 cup chocolate chips, letting sit for 2 minutes, then stirring until smooth. Dip the tops of your cooled cakes for a glossy finish.
Lemon Berry Bliss: Create a refreshing twist by adding 1 tablespoon of fresh lemon zest to your batter and substituting ¼ cup of milk with fresh lemon juice. After baking, brush the warm cakes with a simple syrup made from 2 tablespoons lemon juice and 2 tablespoons sugar. Top with cream cheese frosting and fresh berries for a perfect balance of sweet, tangy, and fruity flavors that complement the base mini heart shaped cake recipe beautifully.
Gluten-Free Option: Make these heart cakes accessible to everyone by substituting the all-purpose flour with a high-quality gluten-free 1:1 baking flour blend. Add ¼ teaspoon xanthan gum if your blend doesn’t already contain it to maintain the perfect texture. The result is just as tender and delicious, with no one able to detect the difference!
Storage And Serving
These mini heart shaped cakes remain fresh at room temperature in an airtight container for up to 3 days. For longer storage, refrigerate for up to a week—just bring to room temperature before serving for the best texture and flavor. You can also freeze unfrosted cakes for up to 3 months: wrap individually in plastic wrap, then place in a freezer bag. Thaw overnight in the refrigerator before frosting.
For an elegant dessert presentation, place individual mini heart shaped cakes on small dessert plates with a light dusting of powdered sugar and fresh berries scattered around. Add a mint leaf for a pop of color and drizzle with a complementary sauce like raspberry coulis or chocolate ganache.
Create a stunning dessert buffet by arranging these cakes on a tiered stand interspersed with fresh flowers, chocolate-dipped strawberries, and small votive candles. This creates a romantic display perfect for weddings, anniversaries, or Valentine’s celebrations.
For a decadent individual serving, warm a cake slightly and place it in a shallow bowl with a scoop of premium vanilla ice cream. The contrast between warm cake and cold ice cream creates an irresistible dessert experience that will have everyone asking for your recipe.
FAQs
Can I make these mini heart shaped cakes in advance?
Absolutely! Bake the cakes up to 3 days ahead and store unfrosted in an airtight container at room temperature. Alternatively, freeze unfrosted cakes for up to 3 months. The frosting can be made 1-2 days ahead and refrigerated in an airtight container—just bring to room temperature and re-whip before using.
What if I don’t have heart-shaped baking pans?
No special pan? No problem! Bake the batter in a standard muffin tin lined with paper liners. Once cooled, use a heart-shaped cookie cutter to cut shapes from each cupcake. Alternatively, bake in a square pan and cut heart shapes once cooled.
Why did my cakes sink in the middle?
Sunken centers typically result from opening the oven door too early during baking or underbaking. Ensure your oven reaches the correct temperature before baking and resist checking the cakes until at least 15 minutes have elapsed.
Can I use this recipe for a larger cake?
Yes! This recipe works beautifully in an 8-inch heart-shaped pan. Increase baking time to 25-30 minutes, testing with a toothpick for doneness.
How can I make these cakes more vibrant for special occasions?
For naturally colored pink cakes, replace 2 tablespoons of milk with beet juice or use powdered freeze-dried strawberries mixed with the dry ingredients. For red velvet variation, add 1-2 tablespoons of red food coloring to the batter along with 1 tablespoon of cocoa powder.

Mini Heart Shaped Cakes
- Prep Time: 20 minutes
- Cook Time: 15-18 minutes
- Total Time: 35-38 minutes
- Yield: 12 mini heart cakes 1x
- Category: Dessert
- Method: Baking
- Cuisine: Americaine
Description
Mini Heart Shaped Cakes – Indulge in these decadent treats made with rich chocolate and topped with creamy icing. Perfect for a romantic dessert!
Ingredients
- 1½ cups (190g) all-purpose flour
- 1 cup (200g) granulated sugar
- ½ cup (113g) unsalted butter, softened
- 2 large eggs, room temperature
- ⅔ cup (160ml) whole milk
- 2 teaspoons (10ml) pure vanilla extract
- 1½ teaspoons baking powder
- ¼ teaspoon salt
Instructions
- Step 1: Prepare Your Baking Pans Preheat your oven to 350°F (175°C). Thoroughly grease each cavity of your mini heart-shaped pan with butter or baking spray. Use a light dusting of flour to prevent sticking. Alternatively, use heart-shaped paper liners in a standard muffin tin.
- Step 2: Mix The Dry Ingredients In a medium bowl, whisk together sifted flour, baking powder, and salt for even distribution in your cakes.
- Step 3: Cream Butter And Sugar Cream softened butter in a large bowl with an electric mixer until creamy. Gradually add granulated sugar, beating until fluffy and pale for about 3-4 minutes. This helps create a light texture in your cakes.
- Step 4: Add Eggs And Vanilla Incorporate eggs one at a time into the butter mixture, beating well after each addition. Mix in vanilla extract and scrape down sides to ensure even mixing.
- Step 5: Alternate Wet And Dry Ingredients Add flour mixture in parts to the butter mixture, alternating with milk. Mix gently to prevent overmixing while ensuring proper blending of all ingredients.
- Step 6: Bake The Cakes Fill heart-shaped cavities two-thirds full with batter. Bake for 15-18 minutes until tops spring back when touched. A toothpick inserted in the center should come out clean or with a few moist crumbs.
- Step 7: Cool And Prepare Frosting Let cakes cool in the pan for 10 minutes before transferring to a wire rack. Meanwhile, prepare frosting by beating softened butter with powdered sugar, cream, and vanilla until smooth. Add food coloring if desired.
- Step 8: Decorate Your Heart Cakes Once cakes are completely cooled, frost using a piping bag or spatula. Add sprinkles or decorations while frosting is soft. Refrigerate cakes for 15 minutes to set frosting before serving for a professional finish.
Notes
Fresh ingredients will always yield the best flavor results.
Nutrition
- Serving Size: 1 mini heart cake
- Calories: 250
- Sugar: 20g
- Sodium: 200mg
- Fat: 12g
- Saturated Fat: 7g
- Unsaturated Fat: 4g
- Trans Fat: 0g
- Carbohydrates: 32g
- Fiber: 0.5g
- Protein: 2g
- Cholesterol: 55mg


