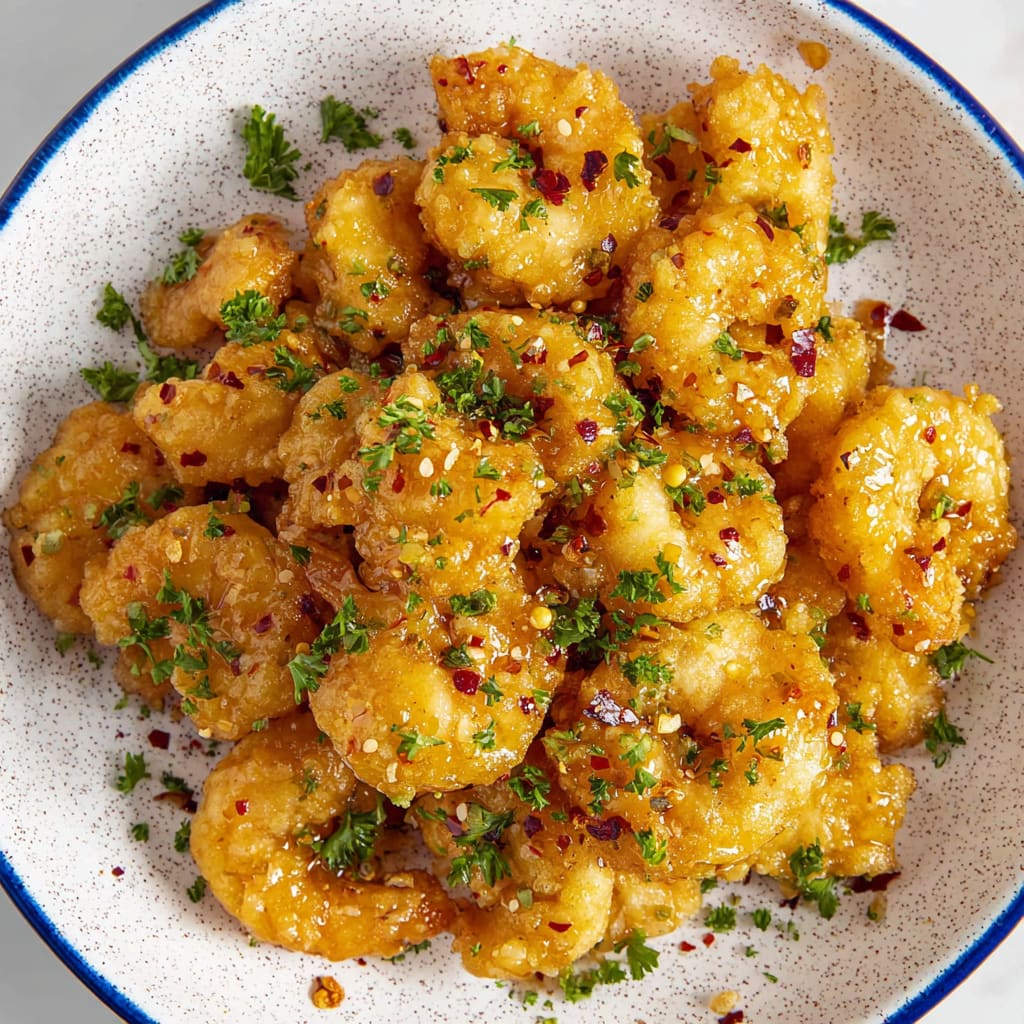
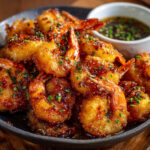
Imagine biting into perfectly crispy shrimp that delivers an unexpected sweet heat that dances across your palate. That’s the magic of Hot Honey Fried Shrimp – a delightful combination of crunchy, juicy, and spicy-sweet flavors that creates an irresistible appetizer or main dish. This crowd-pleasing recipe transforms ordinary shrimp into something extraordinary with the addition of hot honey, a trending ingredient that’s taking home kitchens by storm. You’ll learn how to achieve restaurant-quality fried shrimp with that perfect golden crust while balancing the complex flavors of honey and chili heat for a dish that’s guaranteed to impress.
Why You’ll Love This Recipe
This Hot Honey Fried Shrimp recipe strikes the perfect balance between accessibility and wow-factor. Unlike complicated seafood dishes that require special equipment or advanced techniques, this recipe delivers gourmet results with everyday ingredients and straightforward methods. The contrast between the delicate sweetness of the honey and the bold kick of heat creates a flavor profile that’s complex yet universally appealing.
What makes this dish truly special is the textural contrast – the satisfying crunch of the golden coating gives way to perfectly tender, juicy shrimp inside. The hot honey sauce adds another dimension, creating a sticky-sweet glaze that clings beautifully to each piece. Plus, the entire dish comes together in under 30 minutes, making it perfect for both weeknight dinners and special occasions when you need to impress but don’t want to spend hours in the kitchen.
The versatility of spicy honey shrimp means it works equally well as an appetizer, party snack, or main course paired with your favorite sides. Once you master this recipe, it will quickly become your go-to impressive dish that seems fancy but requires minimal effort.
Ingredients
For the Shrimp:
• 1 pound (450g) large shrimp, peeled and deveined (16-20 count)
• 2 cups (240g) all-purpose flour
• 1 tablespoon (9g) garlic powder
• 1 tablespoon (9g) paprika
• 1 teaspoon (5g) salt
• ½ teaspoon (2g) black pepper
• 2 large eggs, beaten
• 1 cup (240ml) buttermilk
• Vegetable oil for frying (approximately 4 cups/950ml)
For the Hot Honey Sauce:
• ½ cup (170g) honey
• 2 tablespoons (30ml) hot sauce (Frank’s RedHot or Sriracha work well)
• 2 tablespoons (28g) unsalted butter
• 1 teaspoon (5ml) apple cider vinegar
• ¼ teaspoon (1g) red pepper flakes (adjust to taste)
• ¼ teaspoon (1g) salt
For Garnish:
• 2 tablespoons fresh chopped parsley or cilantro
• Lemon wedges
• Sliced green onions (optional)
Pro Tips
Achieving perfect Hot Honey Fried Shrimp requires attention to a few critical details that make all the difference. First, temperature control is essential for that ideal crispy exterior. Use a cooking thermometer to maintain your oil at 350-365°F (175-185°C). If the oil is too hot, the coating burns before the shrimp cooks through; too cool, and the shrimp absorbs excess oil, becoming greasy rather than crispy.
Second, double dredging creates that professional-quality crunchy coating. After the initial flour-egg-flour sequence, let the coated shrimp rest for 5-10 minutes on a wire rack before frying. This resting period allows the coating to adhere properly and creates a thicker, more substantial crust that won’t fall off during cooking or serving.
Finally, the secret to perfectly balanced honey chili shrimp is in the sauce preparation. Always make the hot honey sauce in a separate pan while the shrimp fries, then toss the freshly fried shrimp in the sauce immediately after draining. This timing ensures the coating stays crispy while still absorbing the perfect amount of sauce. For an extra flavor boost, finish with a sprinkle of flaky sea salt right after tossing in the sauce to enhance all the flavors.
Instructions
Step 1: Prepare the Shrimp
Start by patting the shrimp dry with paper towels – this crucial step ensures your coating adheres properly. If you purchased frozen shrimp, make sure they’re completely thawed and excess moisture is removed. For the tail-on versus tail-off debate, I recommend keeping tails on for appetizers (they make perfect handles) or removing for easier eating if serving as a main dish.
Step 2: Set Up Your Dredging Station
In a shallow bowl, combine the flour, garlic powder, paprika, salt, and pepper, mixing thoroughly to distribute the spices. In a separate bowl, whisk together the eggs and buttermilk until smooth. Now arrange your station in order: flour mixture, egg mixture, and then flour mixture again. This organization makes the coating process much more efficient.
Step 3: Coat the Shrimp
Working with a few shrimp at a time (don’t overcrowd), dredge them first in the flour mixture, shaking off excess. Next, dip into the egg mixture, allowing extra to drip off. Finally, coat again in the flour mixture, pressing gently to ensure an even coating. Place the coated shrimp on a wire rack and let them rest for 5-10 minutes while you heat your oil.
Step 4: Fry to Perfection
Heat oil in a deep, heavy-bottomed pan to 350°F (175°C). Carefully add shrimp in batches (about 6-8 at a time) to avoid overcrowding, which would lower the oil temperature. Fry for 2-3 minutes until golden brown and crispy. You’ll know they’re done when they float to the surface and have a beautiful amber color. Transfer to a paper towel-lined plate to drain excess oil.
Step 5: Prepare Hot Honey Sauce
While the shrimp fries, make your sauce. In a small saucepan over medium heat, combine honey, hot sauce, butter, apple cider vinegar, red pepper flakes, and salt. Bring to a gentle simmer, stirring occasionally until the butter melts completely and the sauce thickens slightly, about 3-4 minutes. Remove from heat.
Step 6: Combine and Serve
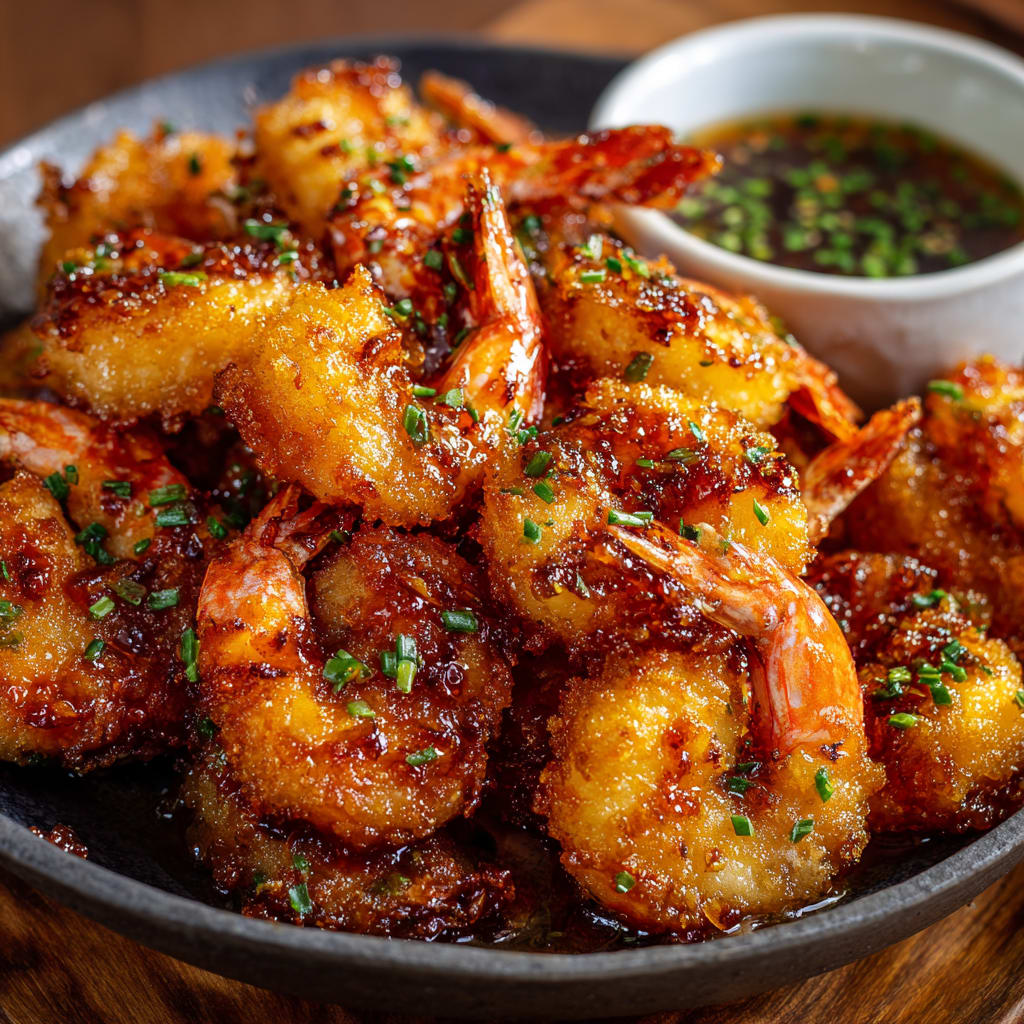
Transfer the fried shrimp to a large bowl and pour the hot honey sauce over them. Gently toss until each shrimp is well-coated. Garnish with fresh herbs and serve immediately with lemon wedges for an extra brightness that perfectly complements the sweet-spicy flavor of your Hot Honey Fried Shrimp.
Variations
Coconut Hot Honey Shrimp
For a tropical twist on the classic Hot Honey Fried Shrimp, replace half of the all-purpose flour with shredded unsweetened coconut. The coconut adds a delightful texture and subtle sweetness that pairs beautifully with the spicy honey glaze. To enhance the tropical flavors further, add a tablespoon of lime zest to the sauce and garnish with fresh cilantro instead of parsley.
Gluten-Free Option
This recipe is easily adapted for gluten-free diets without sacrificing texture or flavor. Simply substitute the all-purpose flour with a high-quality gluten-free flour blend or a mixture of rice flour and cornstarch (in a 2:1 ratio). The cornstarch helps create that signature crispness that makes honey chili shrimp so satisfying. Double-check that your hot sauce is gluten-free, as some brands may contain gluten-based additives.
Air Fryer Adaptation
For a lighter version with less oil, prepare your Hot Honey Fried Shrimp in an air fryer. After coating the shrimp, spray them generously with cooking oil spray and air fry at 380°F (193°C) for 6-8 minutes, turning halfway through. While the texture won’t be identical to deep-fried shrimp, this method still produces deliciously crispy results with significantly less oil.
Storage and Serving
Hot Honey Fried Shrimp is best enjoyed immediately after cooking when the contrast between the crispy coating and juicy interior is at its peak. However, if you have leftovers, store them in an airtight container in the refrigerator for up to 2 days. To reheat, avoid the microwave which will make them soggy. Instead, place them on a baking sheet in a preheated 350°F (175°C) oven for 5-7 minutes until warmed through and crispy again.
For serving, these spicy honey shrimp shine as part of a complete meal when paired with creamy coleslaw, which provides a cooling contrast to the heat. They also make an excellent topping for a fresh salad with mixed greens, avocado, and a light vinaigrette. For a more substantial meal, serve your shrimp alongside cilantro-lime rice and steamed vegetables, or tucked into warm tortillas with shredded lettuce and a dollop of sour cream for easy shrimp tacos with a sweet-heat kick.
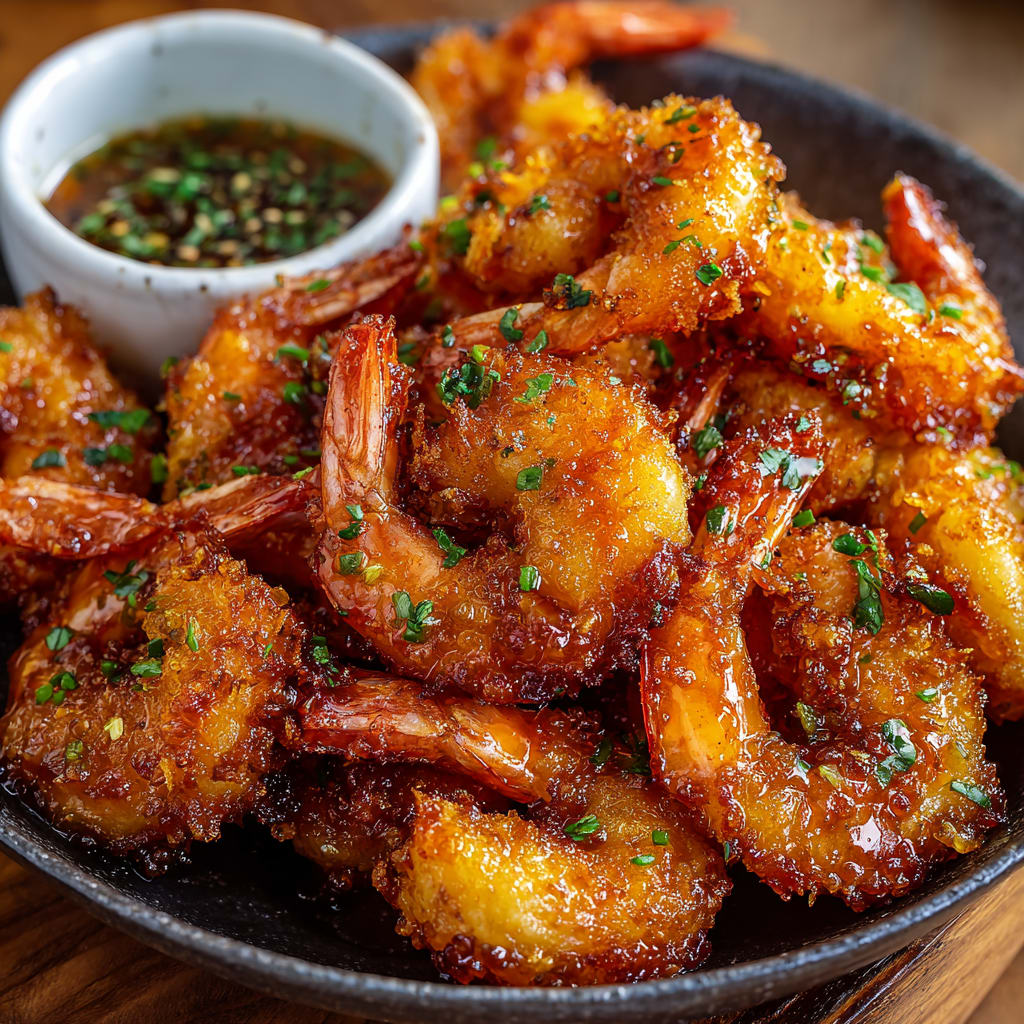
For an impressive appetizer presentation, serve Hot Honey Fried Shrimp on a platter with decorative picks, a side of extra hot honey sauce for dipping, and lemon wedges for brightness.
FAQs
Can I make this recipe with frozen shrimp?
Yes, but properly thaw frozen shrimp first by placing them in the refrigerator overnight or under cold running water for 5-7 minutes. Pat them completely dry before coating to ensure the batter adheres properly.
How can I adjust the spice level of my Hot Honey Fried Shrimp?
Control the heat by adjusting the amount of hot sauce and red pepper flakes in the honey mixture. For milder shrimp, start with half the recommended hot sauce and omit the red pepper flakes. For extra spicy, double the red pepper flakes and add a dash of cayenne pepper.
Can I prepare any components ahead of time?
You can mix the dry coating ingredients and prepare the egg wash up to a day in advance. The hot honey sauce can also be made ahead and gently reheated. However, coat and fry the shrimp just before serving for the best texture.
What’s the best oil for frying shrimp?
Neutral oils with high smoke points work best. Vegetable, canola, peanut, or avocado oil are excellent choices as they won’t impart strong flavors and can withstand the high temperatures needed for proper frying.
My coating falls off when frying. What am I doing wrong?
This typically happens if the shrimp are too wet initially, the oil isn’t hot enough, or you’re turning the shrimp too frequently. Ensure shrimp are thoroughly dried before coating, maintain oil temperature at 350-365°F, and flip shrimp only once during frying.
Hot Honey Fried Shrimp
- Prep Time: 15 mins
- Cook Time: 30 mins
- Total Time: 45 mins
- Yield: 4 servings 1x
- Category: Appetizer
- Method: Cooking
- Cuisine: Americaine
Description
Discover how to make Hot Honey Fried Shrimp with this delicious recipe! Get tips for crispy shrimp and spicy-sweet flavor. Try it today!
Ingredients
- 1 pound (450g) large shrimp, peeled and deveined (16–20 count)
- 2 cups (240g) all-purpose flour
- 1 tablespoon (9g) garlic powder
- 1 tablespoon (9g) paprika
- 1 teaspoon (5g) salt
- ½ teaspoon (2g) black pepper
- 2 large eggs, beaten
- 1 cup (240ml) buttermilk
- Vegetable oil for frying (approximately 4 cups/950ml)
- ½ cup (170g) honey
- 2 tablespoons (30ml) hot sauce (Frank’s RedHot or Sriracha work well)
- 2 tablespoons (28g) unsalted butter
- 1 teaspoon (5ml) apple cider vinegar
- ¼ teaspoon (1g) red pepper flakes (adjust to taste)
- ¼ teaspoon (1g) salt
- 2 tablespoons fresh chopped parsley or cilantro
- Lemon wedges
- Sliced green onions (optional)
Instructions
- Step 1: Prepare the Shrimp Start by patting the shrimp dry with paper towels – this crucial step ensures your coating adheres properly. If you purchased frozen shrimp, make sure they’re completely thawed and excess moisture is removed. For the tail-on versus tail-off debate, I recommend keeping tails on for appetizers (they make perfect handles) or removing for easier eating if serving as a main dish.
- Step 2: Set Up Your Dredging Station In a shallow bowl, combine the flour, garlic powder, paprika, salt, and pepper, mixing thoroughly to distribute the spices. In a separate bowl, whisk together the eggs and buttermilk until smooth. Now arrange your station in order: flour mixture, egg mixture, and then flour mixture again. This organization makes the coating process much more efficient.
- Step 3: Coat the Shrimp Working with a few shrimp at a time (don’t overcrowd), dredge them first in the flour mixture, shaking off excess. Next, dip into the egg mixture, allowing extra to drip off. Finally, coat again in the flour mixture, pressing gently to ensure an even coating. Place the coated shrimp on a wire rack and let them rest for 5-10 minutes while you heat your oil.
- Step 4: Fry to Perfection Heat oil in a deep, heavy-bottomed pan to 350°F (175°C). Carefully add shrimp in batches (about 6-8 at a time) to avoid overcrowding, which would lower the oil temperature. Fry for 2-3 minutes until golden brown and crispy. You’ll know they’re done when they float to the surface and have a beautiful amber color. Transfer to a paper towel-lined plate to drain excess oil.
- Step 5: Prepare Hot Honey Sauce While the shrimp fries, make your sauce. In a small saucepan over medium heat, combine honey, hot sauce, butter, apple cider vinegar, red pepper flakes, and salt. Bring to a gentle simmer, stirring occasionally until the butter melts completely and the sauce thickens slightly, about 3-4 minutes. Remove from heat.
- Step 6: Combine and Serve Transfer the fried shrimp to a large bowl and pour the hot honey sauce over them. Gently toss until each shrimp is well-coated. Garnish with fresh herbs and serve immediately with lemon wedges for an extra brightness that perfectly complements the sweet-spicy flavor of your Hot Honey Fried Shrimp.
- Pro Tips Achieving perfect Hot Honey Fried Shrimp requires attention to a few critical details that make all the difference. First, temperature control is essential for that ideal crispy exterior. Use a cooking thermometer to maintain your oil at 350-365°F (175-185°C). If the oil is too hot, the coating burns before the shrimp cooks through; too cool, and the shrimp absorbs excess oil, becoming greasy rather than crispy. Second, double dredging creates that professional-quality crunchy coating. After the initial flour-egg-flour sequence, let the coated shrimp rest for 5-10…
Notes
Fresh ingredients will always yield the best flavor results.
Nutrition
- Serving Size: 1 serving
- Calories: 300
- Sugar: 5g
- Sodium: 400mg
- Fat: 10g
- Saturated Fat: 3g
- Unsaturated Fat: 7g
- Trans Fat: 0g
- Carbohydrates: 40g
- Fiber: 5g
- Protein: 15g
- Cholesterol: 50mg