The warm, comforting aroma of freshly baked Honey Wheat Bread wafting through your kitchen is truly one of life’s simple pleasures. This perfectly balanced loaf combines the nutty richness of whole wheat flour with the subtle sweetness of honey, creating a bread that’s both hearty and irresistibly tender. Making Honey Wheat Bread from scratch might seem intimidating at first, but this recipe breaks it down into manageable steps that even novice bakers can master. You’ll learn not only how to create two beautiful loaves with a golden crust and soft interior but also gain the confidence to experiment with homemade bread baking in your own kitchen.
Why You’ll Love This Recipe
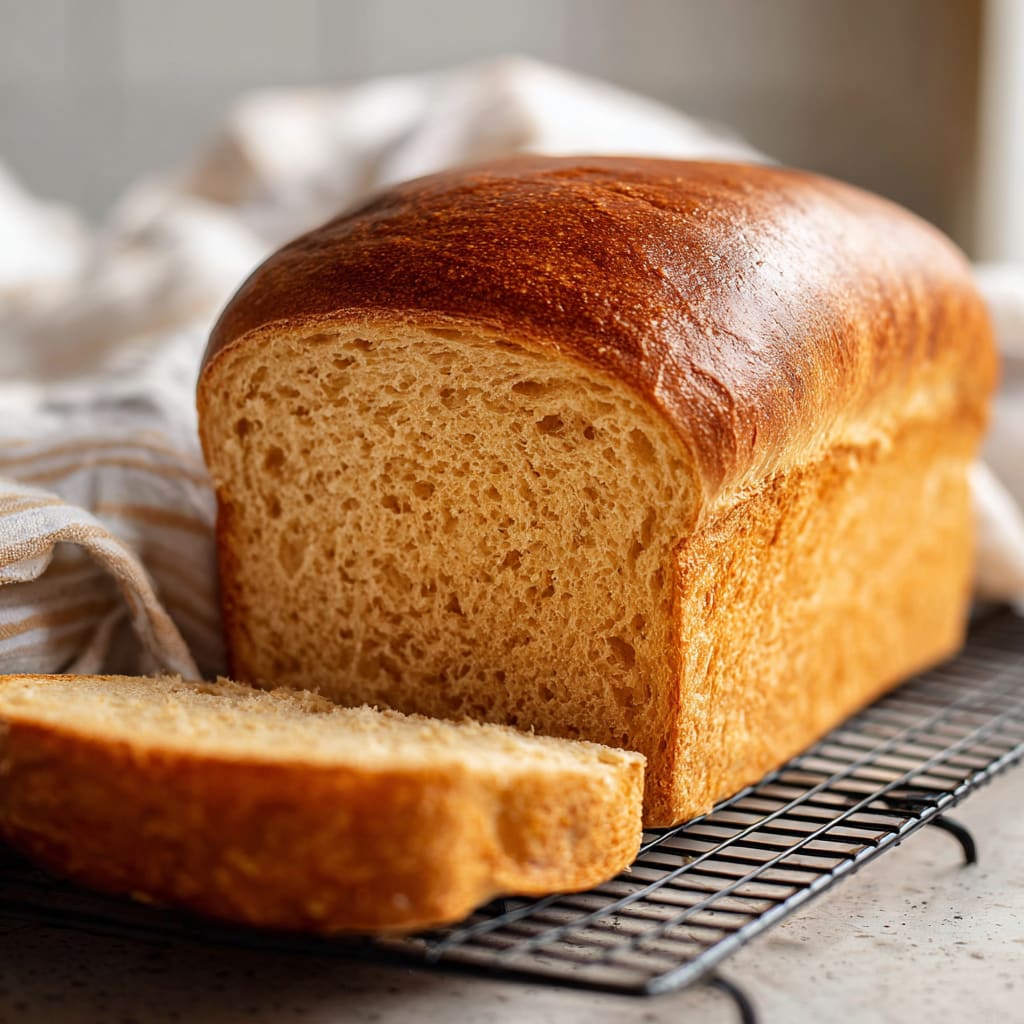
This Honey Wheat Bread recipe stands out from store-bought options in every possible way. First, the texture is absolutely perfect—a slightly crisp, golden exterior gives way to a pillowy soft center with just the right amount of chew. The honey adds a natural sweetness that enhances the nutty flavor of the whole wheat without overwhelming it, creating a balanced taste profile that works for both sweet and savory applications.
What makes this homemade wheat bread truly special is its versatility. It’s substantial enough to hold up to hearty sandwich fillings yet tender enough to enjoy with just a smear of butter. The recipe yields two loaves, allowing you to enjoy one fresh while freezing the other for later use.
Perhaps best of all, while this recipe requires time for rising, the actual hands-on work is minimal. The dough comes together easily in a stand mixer, and the simple folding technique creates a beautiful structure without requiring advanced bread-shaping skills. The honey wheat combination creates a loaf that’s both nutritious and delicious—the perfect entry point for anyone interested in homemade bread baking.
Ingredients List for the Honey Wheat Bread
These carefully selected ingredients work together to create the perfect balance of flavor, texture, and nutrition in this Honey Wheat Bread. The combination of whole wheat and bread flour provides both heartiness and the right structure, while the honey adds natural sweetness and helps keep the bread moist.
- 2 cups warm milk (about 110-115 degrees)
- 1-1/2 Tbsp instant yeast
- 1 tsp sugar
- 1/2 cup warm water
- 2-1/2 cups whole wheat flour
- 3 to 3-1/2 cups bread flour or all purpose flour (start with 3 and add more as needed)
- 3 Tbsp shortening (I like butter flavored)
- 1/4 cup honey
- 1 Tbsp salt
- Egg wash: 1 egg whisked with 1 Tbsp water
Pro Tips
Achieving perfect Honey Wheat Bread comes down to mastering a few critical techniques:
Temperature matters: For this wheat honey bread recipe to rise properly, your liquid ingredients should be warm (110-115°F)—not hot, which would kill the yeast, and not too cool, which would slow activation. Use a thermometer if you’re unsure. The environment for rising should also be warm and draft-free; the oven-warming method mentioned in the instructions creates the ideal rising condition.
Develop the right dough consistency: The perfect dough should feel tacky but not sticky. Add additional flour gradually—a tablespoon at a time—until the dough pulls away from the sides of the bowl but still feels slightly tacky to the touch. Overdoing the flour will result in dense, dry bread, so resist the urge to add too much.
Don’t rush the cooling process: This might be the hardest tip to follow when the aroma of fresh Honey Wheat Bread fills your kitchen, but cooling is actually part of the baking process. Cutting into warm bread releases steam and can result in a gummy texture. The full 30-minute cooling period allows the structure to set properly, ensuring perfect slices every time.

Instructions
Step 1: Put the warm milk in your mixer bowl and sprinkle the yeast and sugar over it. Mix together and let sit for 5 minutes to make sure the yeast activates and gets foamy.
Step 2: Add the water, whole wheat flour, 3 cups of the bread flour, shortening, honey, and salt.
Step 3: Let the mixer knead on low speed for 2 minutes with the dough hook attachment, scraping down as needed. Add small amounts of bread flour, up to another half a cup, until the dough is the right consistency, (you want a soft dough that is easy to work with, but you want it to feel tacky, but not stick to your fingers. You do NOT need to use the whole additional amount.) Continue to let the mixer knead for another 2 minutes when it is the right consistency.
Step 4: Scrape the dough in to a ball in your bowl, cover the bowl with plastic wrap and a clean towel and set in a warm place to rise for 1 hour or until it has doubled in size. (I turn the oven on at the lowest temperature for just 1 minute, then turn it off and put the mixing bowl in there.)
Step 5: Turn the dough out on to a lightly floured pastry mat or counter, and knead for a minute, then divide the dough in two equal portions.
Step 6: Roll out each piece of dough just slightly then fold over in thirds, (pressing together with the heel of your hand), tuck in the ends, and place the bread with seams down in two lightly greased 9×5 bread pans.
Step 7: Cover the pans lightly with plastic wrap and let the loaves rise another 30 minutes.
Step 8: When ready to bake, preheat oven to 350.
Step 9: Remove plastic wrap, brush the loaves gently with egg wash, then bake the loaves at 350 for about 30 minutes. (Bread should register 190 degrees with an instant read thermometer to be fully baked, but not overbaked.
Step 10: Optional: gently brush some melted butter on the top of each loaf as soon as it comes out for a softer crust.
Step 11: Remove from the oven and let cool 10 minutes before popping the loaves out of the pans on to a cooling rack.
Step 12: Bread should cool for a minimum of 30 minutes before slicing!
Variations
While this classic Honey Wheat Bread is perfect as is, there are several delicious variations you might want to try:
Honey Wheat Seed Bread: For added texture and nutritional benefits, incorporate 1/3 cup of mixed seeds into your dough during the mixing stage. A combination of sunflower seeds, flax seeds, and pumpkin seeds works wonderfully, creating a more rustic loaf with additional protein and healthy fats.
Cinnamon-Raisin Honey Wheat: Transform this into a sweeter breakfast bread by adding 1 tablespoon of cinnamon to the flour mixture and folding in 1 cup of plumped raisins just before shaping the loaves. This variation pairs beautifully with cream cheese or makes exceptional French toast.
Gluten-Sensitive Option: While not completely gluten-free, you can make a more digestible version by replacing the bread flour with a 1:1 gluten-free bread flour blend. Keep the whole wheat flour amount at just 1 cup, as the wheat contains the gluten that some find difficult to digest. The texture will be slightly different, but still delicious with the honey flavor shining through.
Storage and Serving
Proper storage is key to maintaining the fresh-baked quality of your Honey Wheat Bread. Once completely cooled, store your loaf in a bread box or paper bag at room temperature for up to 3 days. For longer storage, slice the entire loaf, place parchment paper between slices, and freeze in an airtight container or freezer bag for up to 3 months. Frozen slices can go straight into the toaster for convenience.
This wholesome wheat honey bread elevates any meal. For breakfast, toast thick slices and top with avocado and a poached egg for a nutritious start to your day. At lunch, build the ultimate sandwich with layers of deli meat, cheese, and fresh vegetables—the sturdy texture holds up beautifully without getting soggy. For dinner, serve warm slices alongside homemade soup or stew, perfect for soaking up every last drop of broth. You can also transform day-old bread into exceptional French toast by soaking slices in a mixture of eggs, milk, vanilla, and cinnamon before pan-frying to golden perfection.
FAQs
Can I use all whole wheat flour for this recipe?
While you can use all whole wheat flour, the bread will be much denser and heavier. The combination of whole wheat and bread flour in this Honey Wheat Bread recipe creates the perfect balance of nutrition and texture. If you want to increase the whole wheat ratio, do so gradually, perhaps adding just 1/2 cup more wheat flour per loaf until you find your preferred texture.
Why didn’t my bread rise properly?
Several factors affect rising: check that your yeast is fresh and that your liquids were warm but not hot. The rising environment should be draft-free and warm (around 75-85°F). Also, too much flour can inhibit rising, so maintain the tacky texture described in the recipe.
Can I substitute the shortening with something else?
Yes, you can use an equal amount of unsalted butter or oil instead of shortening in this wheat honey bread recipe. Each will slightly alter the texture—butter adds flavor but makes a slightly less tender crumb, while oil creates a very moist bread.
How can I tell when my bread is done without a thermometer?
Without a thermometer, tap the bottom of the loaf (carefully remove it from the pan using oven mitts). A fully baked loaf will sound hollow. The crust should also be evenly golden brown, and the loaf should feel light for its size.
Can I make this dough ahead of time?
Yes! You can refrigerate the dough after the first rise for up to 24 hours. Punch it down, cover tightly, and refrigerate. When ready to bake, let the dough come to room temperature for about 30 minutes before shaping and proceeding with the second rise, which may take longer than the standard 30 minutes.

Honey Wheat Bread
- Prep Time: 15 mins
- Cook Time: 30 mins
- Total Time: 45 mins
- Yield: 4 people 1x
- Category: Breakfast
- Method: Cooking
- Cuisine: American
Description
Looking for a delicious homemade bread recipe? Discover how to make Honey Wheat Bread with our easy step-by-step guide. Try it today!
Ingredients
- 2 cups warm milk ((about 110–115 degrees))
- 1–1/2 Tbsp instant yeast
- 1 tsp sugar
- 1/2 cup warm water
- 2–1/2 cups whole wheat flour
- 3 to 3-1/2 cups bread flour or all purpose flour ((start with 3 and add more as needed))
- 3 Tbsp shortening ((I like butter flavored))
- 1/4 cup honey
- 1 Tbsp salt
- Egg wash: 1 egg whisked with 1 Tbsp water
Instructions
- Step 1: Put the warm milk in your mixer bowl and sprinkle the yeast and sugar over it. Mix together and let sit for 5 minutes to make sure the yeast activates and gets foamy.
- Step 2: Add the water, whole wheat flour, 3 cups of the bread flour, shortening, honey, and salt.
- Step 3: Let the mixer knead on low speed for 2 minutes with the dough hook attachment, scraping down as needed. Add small amounts of bread flour, up to another half a cup, until the dough is the right consistency, (you want a soft dough that is easy to work with, but you want it to feel tacky, but not stick to your fingers. You do NOT need to use the whole additional amount.) Continue to let the mixer knead for another 2 minutes when it is the right consistency.
- Step 4: Scrape the dough in to a ball in your bowl, cover the bowl with plastic wrap and a clean towel and set in a warm place to rise for 1 hour or until it has doubled in size. (I turn the oven on at the lowest temperature for just 1 minute, then turn it off and put the mixing bowl in there.).
- Step 5: Turn the dough out on to a lightly floured pastry mat or counter, and knead for a minute, then divide the dough in two equal portions.
- Step 6: Roll out each piece of dough just slightly then fold over in thirds, (pressing together with the heel of your hand), tuck in the ends, and place the bread with seams down in two lightly greased 9×5 bread pans.
- Step 7: Cover the pans lightly with plastic wrap and let the loaves rise another 30 minutes.
- Step 8: When ready to bake, preheat oven to Step 350: Step 9: Remove plastic wrap, brush the loaves gently with egg wash, then bake the loaves at 350 for about 30 minutes. (Bread should register 190 degrees with an instant read thermometer to be fully baked, but not overbaked.
- Step 10: Optional: gently brush some melted butter on the top of each loaf as soon as it comes out for a softer crust.
- Step 11: Remove from the oven and let cool 10 minutes before popping the loaves out of the pans on to a cooling rack.
- Step 12: Bread should cool for a minimum of 30 minutes before slicing!
Notes
Try This Recipe and Leave a comment Below, your opinion matters to me!
Nutrition
- Serving Size: 4 serving
- Calories: 400
- Sugar: 5g
- Sodium: 400mg
- Fat: 10g
- Saturated Fat: 3g
- Unsaturated Fat: 7g
- Trans Fat: 0g
- Carbohydrates: 40g
- Fiber: 5g
- Protein: 15g
- Cholesterol: 50mg


