
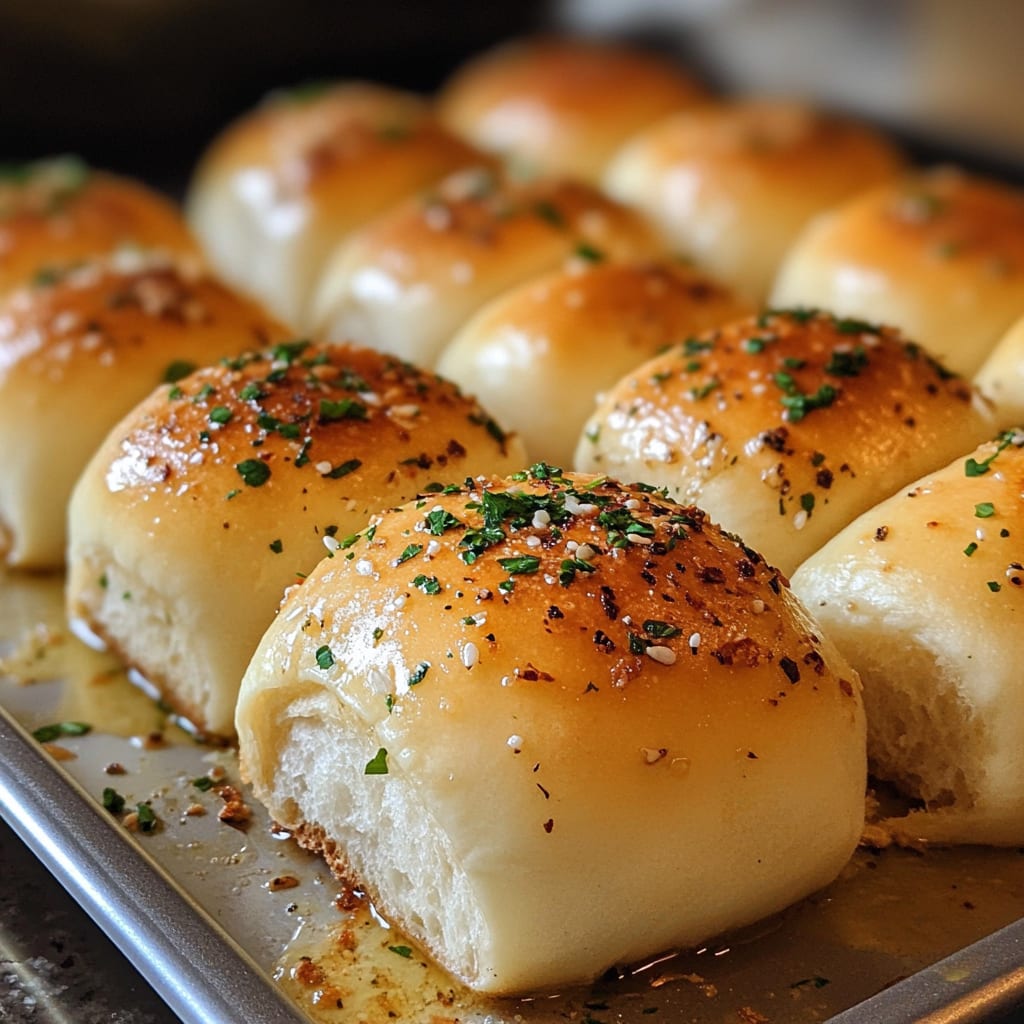
Imagine biting into warm, garlic bread rolls with a perfectly crispy exterior that gives way to a pillowy, butter-soaked interior. The aromatic blend of fresh garlic and herbs wafts through your kitchen, making it impossible to wait until dinner to sample one. These garlic bread rolls are more than just a side dish—they’re the star of any meal, disappearing from the bread basket faster than any other offering. You’ll learn how to create these irresistible rolls from scratch, with a foolproof method that guarantees perfect results every time, even if you’re new to bread making.
Why You’ll Love This Recipe
These homemade garlic bread rolls will quickly become your family’s favorite bread option for several compelling reasons. Unlike store-bought alternatives, these rolls offer a sublime contrast between the golden, slightly crunchy exterior and the soft, tender crumb that melts in your mouth. The garlic butter isn’t just spread on top—it’s incorporated throughout each roll for a consistent flavor in every bite.
What makes this recipe truly special is its versatility and ease. The dough is forgiving for beginners but produces results that will impress even experienced bakers. The heavenly aroma of fresh bread baking, combined with garlic and herbs, will transform your kitchen into an artisan bakery. Plus, these rolls require basic pantry ingredients but deliver bakery-quality results that will have guests believing you spent hours in the kitchen, when the active preparation time is surprisingly short.
These garlic bread rolls also strike the perfect balance between being substantial enough to sop up sauces and soups, yet light enough not to overwhelm your main course.
Ingredients
For the Dough:
- 3½ cups (440g) all-purpose flour
- 1 packet (2¼ teaspoons/7g) active dry yeast
- 1 cup (240ml) warm milk (110°F/43°C)
- 3 tablespoons (42g) unsalted butter, melted
- 2 tablespoons (25g) granulated sugar
- 1½ teaspoons salt
- 1 large egg, room temperature
For the Garlic Butter:
- 6 tablespoons (85g) unsalted butter, softened
- 4 large garlic cloves, minced (about 2 tablespoons)
- 2 tablespoons fresh parsley, finely chopped
- 1 tablespoon fresh chives, minced (optional)
- ½ teaspoon Italian seasoning
- ¼ teaspoon salt
- 2 tablespoons grated Parmesan cheese (optional)
The key to exceptional garlic bread rolls lies in using fresh garlic rather than pre-minced varieties, which dramatically improves the flavor profile. The butter should be high-quality and unsalted, allowing you to control the exact salt level. For the best texture, use bread flour if you have it, though all-purpose works perfectly well.
Pro Tips
Perfect Yeast Activation: The temperature of your milk is crucial for properly activating the yeast. Use a thermometer to ensure it’s between 105-110°F (40-43°C). Too hot, and you’ll kill the yeast; too cool, and it won’t activate. When properly mixed with sugar and warm milk, the yeast should become foamy within 5-10 minutes—this is your indicator that it’s alive and ready to work its magic in your garlic bread rolls.
The Window Pane Test: To check if your dough has been kneaded enough, perform the window pane test. Take a small piece of dough and gently stretch it between your fingers. If it can stretch thin enough to see light through without tearing, your dough has developed sufficient gluten structure. This ensures your garlic bread rolls will have that perfect chewy-yet-tender texture.
Double Butter Application: For the most flavorful garlic butter rolls, apply the garlic butter mixture twice—once before the second rise and again immediately after baking. This double application ensures the garlic flavor penetrates the rolls while also creating that irresistible buttery sheen on top. For an extra touch, reserve some fresh herbs to sprinkle over the hot, buttered rolls right before serving.
Instructions
Step 1: Activate the Yeast
In a large bowl, combine the warm milk (110°F/43°C) with the sugar, stirring until dissolved. Sprinkle the yeast over the mixture and let it sit undisturbed for 5-10 minutes until foamy. This activation process is your first step toward perfect garlic bread rolls with the ideal rise and texture.
Step 2: Form the Dough
Add the melted butter, salt, and egg to your yeast mixture, whisking to combine. Gradually add 3 cups of flour, stirring until the dough comes together. Turn the dough out onto a floured surface and knead for 7-8 minutes, incorporating the remaining flour as needed until you achieve a smooth, slightly tacky dough that springs back when touched. You’re building the foundation for pillowy garlic bread rolls with every fold and press.
Step 3: First Rise
Shape your dough into a ball and place it in a lightly oiled bowl, turning once to coat. Cover with plastic wrap or a damp kitchen towel and let rise in a warm spot for 1 hour, or until doubled in size. While waiting, prepare your garlic butter by mixing all ingredients until smooth and fragrant.
Step 4: Shape the Rolls
After the first rise, gently punch down the dough to release air bubbles. Divide it into 12 equal portions (use a kitchen scale for precision if you’d like). Shape each portion into a smooth ball by pulling the edges toward the center and pinching to seal, then rolling between your palms. Place the rolls in a greased 9×13-inch baking dish, spacing them evenly.
Step 5: Add Garlic Butter and Second Rise
Brush the rolls generously with half of your prepared garlic butter. Cover and let rise again for 30-45 minutes until puffy and almost doubled. Meanwhile, preheat your oven to 375°F (190°C).
Step 6: Bake to Golden Perfection
Bake your garlic bread rolls for 20-25 minutes until golden brown and cooked through (an instant-read thermometer inserted into a roll should read 190°F/88°C). Immediately brush the hot rolls with the remaining garlic butter, watching as it melts into every crevice. The aroma alone will make the wait worthwhile!
Variations
Cheese-Stuffed Garlic Bread Rolls
Transform these garlic bread rolls into an even more indulgent treat by stuffing each portion of dough with a cube of mozzarella or cheddar cheese before shaping. When baked, the rolls will reveal a magnificent stretch of melted cheese when pulled apart – perfect for dipping into marinara sauce or serving alongside pasta. For an extra flavor dimension, add 1/4 teaspoon of crushed red pepper flakes to your garlic butter mixture.
Whole Wheat Garlic Herb Rolls
For a healthier twist on traditional garlic bread rolls, substitute half the all-purpose flour with whole wheat flour. This creates a more nutritious roll with a pleasant nutty flavor that pairs wonderfully with the garlic butter. To complement the heartier texture, consider adding additional herbs like rosemary, thyme, or sage to your garlic butter mixture. These wholesome rolls make excellent sandwiches the next day, if they last that long!
Vegan Garlic Bread Rolls
Create plant-based garlic bread rolls by replacing the butter with olive oil or vegan butter, substituting plant milk for regular milk, and using a flax egg (1 tablespoon ground flaxseed mixed with 3 tablespoons water) instead of a chicken egg. The result is surprisingly close to the original, with all the garlic flavor intact. Nutritional yeast can replace the Parmesan for a similar savory, cheesy note.
Storage and Serving
These garlic bread rolls stay fresh at room temperature in an airtight container for up to 2 days. For longer storage, refrigerate for up to 5 days, though the texture is best when they’re reheated. To freeze, wrap individual rolls tightly in plastic wrap, then place in a freezer bag for up to 3 months. Thaw at room temperature and reheat in a 350°F (175°C) oven for 5-7 minutes until warmed through.
Serve these rolls warm as the perfect accompaniment to pasta dishes, particularly spaghetti with homemade marinara or classic lasagna. The rolls are ideal for sopping up rich sauces and gravies. For an impressive appetizer, arrange them on a wooden board with a small bowl of extra virgin olive oil sprinkled with Italian herbs and crushed red pepper for dipping.
Transform leftover garlic bread rolls into extraordinary croutons by cutting them into cubes, tossing with a little more olive oil, and baking until crispy. These flavorful croutons elevate any salad, particularly Caesar or Italian chopped salad.
FAQs
Can I make the dough ahead of time?
Yes! You can prepare the dough and complete the first rise, then refrigerate it overnight. Allow the dough to come to room temperature for 30 minutes before shaping into rolls for the second rise. This cold fermentation actually improves the flavor of your garlic bread rolls.
Why didn’t my rolls rise properly?
This typically happens when your yeast is old or was killed by liquid that was too hot. Always check the expiration date and use a thermometer for the milk. Another common cause is flour with too little protein—bread flour works best for garlic bread rolls with good structure.
Can I use garlic powder instead of fresh garlic?
While fresh garlic provides the best flavor for authentic garlic bread rolls, you can substitute 1 teaspoon of garlic powder for every 2 cloves of fresh garlic in a pinch. Add 1/4 teaspoon of onion powder to compensate for the complexity lost when using dried garlic.
How can I make these rolls more cheesy?
Mix 1/2 cup of shredded mozzarella or provolone directly into the dough during kneading, and increase the Parmesan in the garlic butter to 1/4 cup. You can also sprinkle additional cheese on top during the last 5 minutes of baking for cheesier garlic bread rolls.
My rolls turned out dense. What went wrong?
Dense rolls usually result from insufficient kneading (not enough gluten development), not allowing enough rising time, or using old yeast. Make sure to knead until you can perform the window pane test and give the dough ample time to rise in a warm environment.
Conclusion
These garlic bread rolls are comfort food at its finest — pillowy, aromatic bundles of joy that transform any meal from ordinary to memorable. The combination of buttery, garlic-infused dough with that perfect golden crust creates an irresistible bread experience that will have everyone reaching for seconds. It’s the kind of dish that brings people together around the table, creating those special moments where conversation flows as freely as the compliments to the chef. Whether paired with your favorite pasta or enjoyed on their own, these rolls prove that sometimes the simplest pleasures are the most satisfying.
Print
Garlic Bread Rolls
- Prep Time: 30 minutes
- Cook Time: 25 minutes
- Total Time: 1 hour 55 minutes
- Yield: 12 rolls 1x
- Category: Dinner
- Method: Baking
- Cuisine: Americaine
Description
Garlic Bread Rolls: Fluffy, buttery rolls filled with garlic and herbs, perfect for quick, comforting, crowd-pleasing appetizer.
Ingredients
- 3½ cups (440g) all-purpose flour
- 1 packet (2¼ teaspoons/7g) active dry yeast
- 1 cup (240ml) warm milk (110°F/43°C)
- 3 tablespoons (42g) unsalted butter, melted
- 2 tablespoons (25g) granulated sugar
- 1½ teaspoons salt
- 1 large egg, room temperature
- 6 tablespoons (85g) unsalted butter, softened
- 4 large garlic cloves, minced (about 2 tablespoons)
- 2 tablespoons fresh parsley, finely chopped
- 1 tablespoon fresh chives, minced (optional)
- ½ teaspoon Italian seasoning
- ¼ teaspoon salt
- 2 tablespoons grated Parmesan cheese (optional)
Instructions
- Step 1: Activate the Yeast In a large bowl, combine the warm milk (110°F/43°C) with the sugar, stirring until dissolved. Sprinkle the yeast over the mixture and let it sit undisturbed for 5-10 minutes until foamy. This activation process is your first step toward perfect garlic bread rolls with the ideal rise and texture.
- Step 2: Form the Dough Add the melted butter, salt, and egg to your yeast mixture, whisking to combine. Gradually add 3 cups of flour, stirring until the dough comes together. Turn the dough out onto a floured surface and knead for 7-8 minutes, incorporating the remaining flour as needed until you achieve a smooth, slightly tacky dough that springs back when touched. You’re building the foundation for pillowy garlic bread rolls with every fold and press.
- Step 3: First Rise Shape your dough into a ball and place it in a lightly oiled bowl, turning once to coat. Cover with plastic wrap or a damp kitchen towel and let rise in a warm spot for 1 hour, or until doubled in size. While waiting, prepare your garlic butter by mixing all ingredients until smooth and fragrant.
- Step 4: Shape the Rolls After the first rise, gently punch down the dough to release air bubbles. Divide it into 12 equal portions. Shape each portion into a smooth ball by pulling the edges toward the center and pinching to seal, then rolling between your palms. Place the rolls in a greased 9×13-inch baking dish, spacing them evenly.
- Step 5: Add Garlic Butter and Second Rise Brush the rolls generously with half of your prepared garlic butter. Cover and let rise again for 30-45 minutes until puffy and almost doubled. Meanwhile, preheat your oven to 375°F (190°C).
- Step 6: Bake to Golden Perfection Bake your garlic bread rolls for 20-25 minutes until golden brown and cooked through. Immediately brush the hot rolls with the remaining garlic butter, watching as it melts into every crevice. The aroma alone will make the wait worthwhile!
Notes
Fresh ingredients will always yield the best flavor results.
Nutrition
- Serving Size: 1 roll
- Calories: 240
- Sugar: 3g
- Sodium: 340mg
- Fat: 12g
- Saturated Fat: 7g
- Unsaturated Fat: 4.5g
- Trans Fat: 0g
- Carbohydrates: 28g
- Fiber: 1g
- Protein: 5g
- Cholesterol: 45mg


