Imagine biting into a perfectly crisp, melt-in-your-mouth Danish butter cookie that’s simultaneously rich, delicate, and wonderfully aromatic. These iconic buttery treats have graced holiday tins and special occasions for generations, delivering simple yet unforgettable flavor in every bite. What makes authentic Danish butter cookies truly special is their perfect balance of premium butter, subtle vanilla, and just the right amount of sweetness that doesn’t overwhelm. You’ll learn how to create these classic shortbread-style cookies in your own kitchen, achieving that signature tender crumb and beautiful piped designs that make Danish butter cookies instantly recognizable worldwide.
Why You’ll Love This Recipe
These homemade Danish butter cookies will quickly become your go-to cookie recipe for several compelling reasons. First, they require just a handful of basic ingredients that you likely already have in your pantry, yet they deliver a sophisticated, bakery-quality result. The texture contrast is truly exceptional—crisp at the edges while maintaining a tender, buttery center that practically dissolves on your tongue.
Unlike store-bought versions, these traditional Danish cookies allow you to control the quality of ingredients, particularly the butter, which makes an enormous difference in flavor. There’s something deeply satisfying about piping these beautiful swirled shapes yourself, knowing you’re continuing a time-honored baking tradition that originated in Denmark.
The versatility is another advantage—these butter cookies from Denmark can be left plain for purists, dressed up with sprinkles for celebrations, dipped in chocolate for extra indulgence, or flavored with various extracts to suit your taste preferences. They’re perfectly giftable too, making beautiful homemade presents packaged in decorative tins.
Ingredients
For these authentic Danish butter cookies, quality ingredients make all the difference:
- 1 cup (226g) unsalted butter, softened at room temperature
- 2/3 cup (133g) granulated sugar
- 1/4 teaspoon salt
- 2 teaspoons vanilla extract
- 1 large egg, room temperature
- 2 1/4 cups (280g) all-purpose flour
The butter should be high-quality with at least 82% fat content for that signature rich flavor—European-style butter works beautifully here. The vanilla extract should be pure rather than imitation for an authentic taste. While traditional Danish cookie recipes often use just vanilla, almond extract (1/4 teaspoon) can be added for a more complex flavor profile that’s common in Scandinavian baking. For the optional decoration, keep coarse sugar, sprinkles, or melted chocolate on hand.
Pro Tips
Achieving perfect traditional Danish butter cookies requires attention to a few critical details:
Butter Temperature: The single most important factor is properly softened butter. It should be at cool room temperature—soft enough to cream but still slightly cool to the touch. If your butter is too warm, the cookies will spread too much; too cold, and you’ll struggle to pipe the dough. For perfect consistency, leave butter out for about 30-45 minutes before baking (less in warm rooms).
Piping Technique: Use a sturdy cloth or heavy-duty plastic piping bag fitted with a large star tip (Wilton 1M or 2D works well). Hold the bag perpendicular to the baking sheet about 1/2 inch above the surface, applying steady pressure while piping rosettes, wreaths, or lines. If the dough is too stiff to pipe, warm it slightly by working it with your hands through the piping bag.
Chilling Strategy: While many cookie recipes require chilling, Danish butter cookies actually pipe better when the dough is at room temperature. However, if your kitchen is warm and the cookies are spreading too much during baking, chill the piped cookies on the baking sheets for 15 minutes before baking to help them maintain their beautiful shape.
Instructions
Step 1: Prepare Your Equipment
Preheat your oven to 350°F (175°C). Line two baking sheets with parchment paper or silicone mats. Fit a large piping bag with a large star tip—this creates the classic ridged appearance of authentic Danish butter cookies. Set aside two cooling racks for after baking.
Step 2: Cream Butter and Sugar
In a large bowl using an electric mixer (stand mixer preferred), beat the softened butter, sugar, and salt on medium-high speed for 3-4 minutes until very light and fluffy. This extended creaming process incorporates air, creating that melt-in-your-mouth texture that defines these cookies. Stop occasionally to scrape down the sides of the bowl.
Step 3: Add Remaining Wet Ingredients
Add the vanilla extract and egg to the butter mixture. Beat on medium speed until fully incorporated and smooth, about 1 minute. The mixture should be creamy and uniform in texture with no streaks of egg visible.
Step 4: Incorporate Flour
Add the flour to the wet ingredients in two additions, mixing on low speed just until combined after each addition. Be careful not to overmix once the flour is added, as this develops gluten and can make the cookies tough rather than tender.
Step 5: Pipe the Cookies
Transfer the dough to your prepared piping bag. Pipe the cookies onto the lined baking sheets, leaving about 1.5 inches between each cookie. You can create classic wreath shapes by piping circles, straight lines, or S-shapes according to your preference. If the dough becomes too soft to hold its shape, refrigerate the piping bag for 5-10 minutes.
Step 6: Bake to Perfection
Bake in the preheated oven for 10-12 minutes, or until the edges are just beginning to turn golden while the centers remain pale. For even baking, rotate the pans halfway through the baking time. Remember that these cookies shouldn’t brown too much—they should maintain their pale, buttery appearance.
Step 7: Cool Properly
Allow the cookies to cool on the baking sheets for 5 minutes before carefully transferring to cooling racks to cool completely. These delicate cookies need this brief setting time to firm up before moving.
Variations
The classic Danish butter cookie recipe serves as a wonderful base for creative variations:
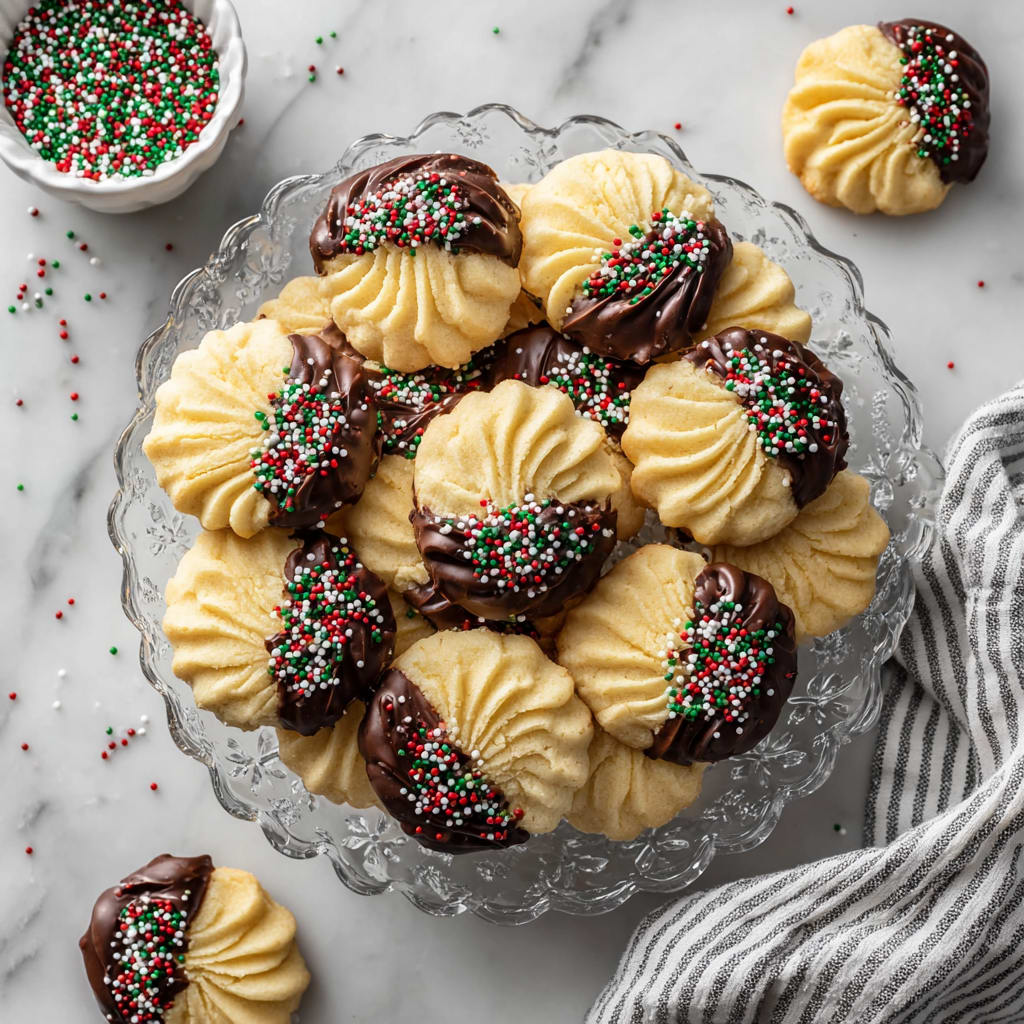
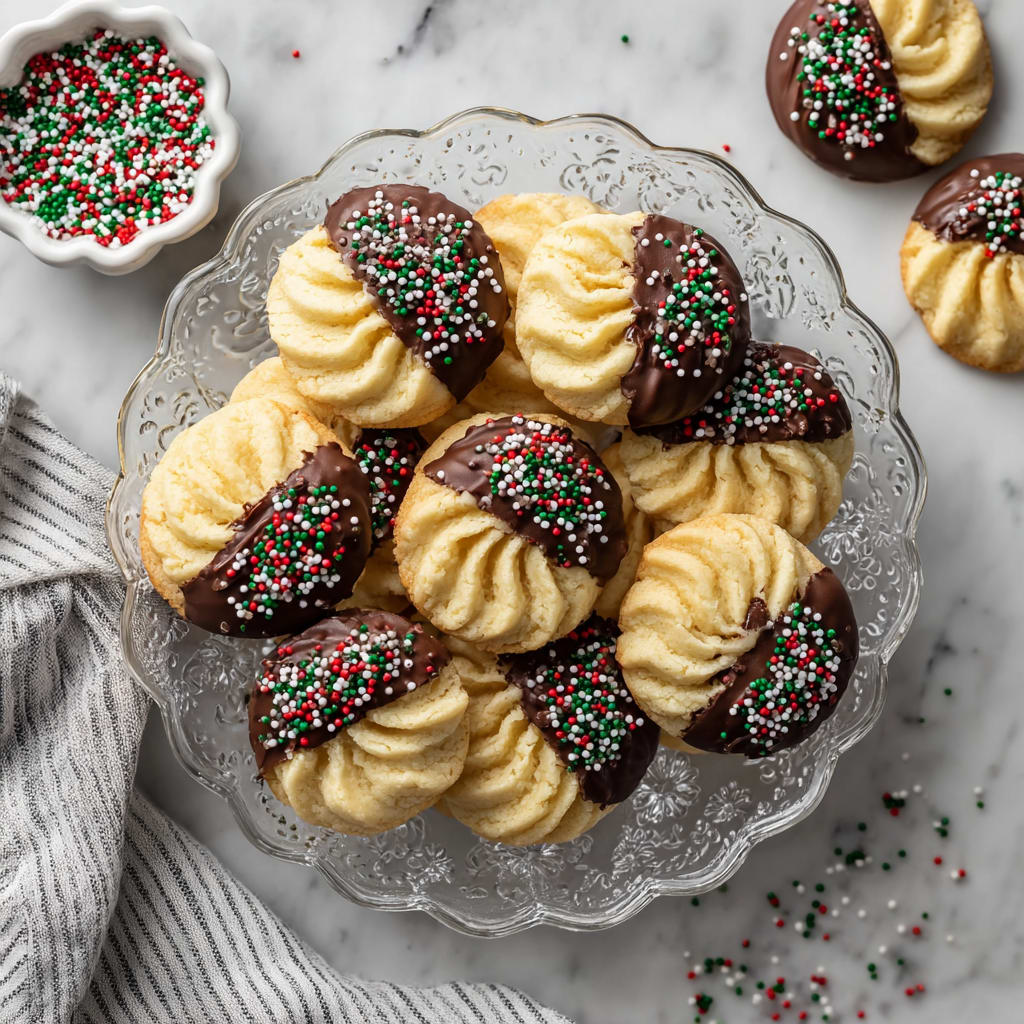
Chocolate-Dipped Danish Cookies: After cookies have completely cooled, dip half of each cookie into melted dark, milk, or white chocolate, then place on parchment paper to set. For a festive touch, add sprinkles or chopped nuts before the chocolate hardens.
Citrus-Infused Butter Cookies: Add 1-2 teaspoons of fresh citrus zest (lemon, orange, or lime) to the butter mixture during the creaming stage. This bright variation adds a refreshing dimension to the traditional buttery flavor profile while maintaining authenticity.
Spiced Danish Cookies: For a warming holiday version, incorporate 1/2 teaspoon of cardamom or cinnamon into the flour before adding to the wet ingredients. These spices complement the butter beautifully and create a more complex flavor reminiscent of Scandinavian holiday baking traditions.
Storage and Serving
Properly stored Danish butter cookies maintain their quality remarkably well. Once completely cooled, store them in an airtight container at room temperature for up to 2 weeks. Separate layers with parchment paper to prevent sticking or breaking. For longer storage, these cookies freeze exceptionally well—place in freezer-safe containers with parchment between layers for up to 3 months.
These buttery Danish treats shine when served alongside the right beverages. Pair them with afternoon tea, particularly Earl Grey or English Breakfast, as the buttery richness complements the tannins beautifully. For coffee enthusiasts, serve with a smooth latte or cappuccino, letting the cookies’ sweetness balance the coffee’s bitterness. During holidays, these cookies make a perfect accompaniment to mulled wine or hot chocolate.
For a traditional Danish presentation, arrange various shapes of butter cookies on a decorative platter with small bowls of fruit preserves for dipping—lingonberry or raspberry are particularly authentic choices.
FAQs
Why did my Danish butter cookies spread too much during baking?
The most common culprit is butter that’s too warm. Your butter should be softened but still cool to the touch. Also, check that your oven is properly calibrated to the correct temperature, as an oven that runs cool will cause spreading before the cookies set.
Can I make Danish butter cookies without a piping tip?
While the classic star shape requires a piping tip, you can still make delicious Danish butter cookies using a cookie press or even rolling the dough into logs, chilling, and slicing into rounds before baking.
How do I know when my Danish butter cookies are done baking?
Look for very light golden edges while the centers remain pale. Overbaking will make them too crisp and potentially bitter. They will continue to firm up as they cool.
Can I use salted butter instead of unsalted?
Yes, but omit the added salt in the recipe. However, for the most authentic flavor profile, unsalted butter is preferred as it allows you to control the exact amount of salt.
Why does my cookie dough seem too stiff to pipe?
This typically happens if the butter wasn’t soft enough initially or if there’s too much flour. Try warming the dough slightly by kneading the piping bag with your warm hands for a few minutes before attempting to pipe again.

Danish Butter Cookies Recipe
- Prep Time: 20 minutes
- Cook Time: 10-12 minutes
- Total Time: 30-32 minutes
- Yield: Makes about 24 cookies 1x
- Category: Dessert
- Method: Baking
- Cuisine: Americaine
Description
Danish Butter Cookies Recipe: Buttery, melt-in-your-mouth treats with flour, butter, sugar, and vanilla. Perfect for holiday baking and gifting.
Ingredients
- 1 cup (226g) unsalted butter, softened at room temperature
- 2/3 cup (133g) granulated sugar
- 1/4 teaspoon salt
- 2 teaspoons vanilla extract
- 1 large egg, room temperature
- 2 1/4 cups (280g) all-purpose flour
Instructions
- Step 1: Prepare Your Equipment Preheat your oven to 350°F (175°C). Line two baking sheets with parchment paper or silicone mats. Fit a large piping bag with a large star tip—this creates the classic ridged appearance of authentic Danish butter cookies. Set aside two cooling racks for after baking.
- Step 2: Cream Butter and Sugar In a large bowl using an electric mixer (stand mixer preferred), beat the softened butter, sugar, and salt on medium-high speed for 3-4 minutes until very light and fluffy. This extended creaming process incorporates air, creating that melt-in-your-mouth texture that defines these cookies. Stop occasionally to scrape down the sides of the bowl.
- Step 3: Add Remaining Wet Ingredients Add the vanilla extract and egg to the butter mixture. Beat on medium speed until fully incorporated and smooth, about 1 minute. The mixture should be creamy and uniform in texture with no streaks of egg visible.
- Step 4: Incorporate Flour Add the flour to the wet ingredients in two additions, mixing on low speed just until combined after each addition. Be careful not to overmix once the flour is added, as this develops gluten and can make the cookies tough rather than tender.
- Step 5: Pipe the Cookies Transfer the dough to your prepared piping bag. Pipe the cookies onto the lined baking sheets, leaving about 1.5 inches between each cookie. You can create classic wreath shapes by piping circles, straight lines, or S-shapes according to your preference. If the dough becomes too soft to hold its shape, refrigerate the piping bag for 5-10 minutes.
- Step 6: Bake to Perfection Bake in the preheated oven for 10-12 minutes, or until the edges are just beginning to turn golden while the centers remain pale. For even baking, rotate the pans halfway through the baking time. Remember that these cookies shouldn’t brown too much—they should maintain their pale, buttery appearance.
- Step 7: Cool Properly Allow the cookies to cool on the baking sheets for 5 minutes before carefully transferring to cooling racks to cool completely. These delicate cookies need this brief setting time to firm up before moving.
Notes
Fresh ingredients will always yield the best flavor results.
Nutrition
- Serving Size: 1 cookie
- Calories: 120 calories
- Sugar: 6g
- Sodium: 42mg
- Fat: 7g
- Saturated Fat: 4g
- Unsaturated Fat: 3g
- Trans Fat: 0g
- Carbohydrates: 13g
- Fiber: 0.3g
- Protein: 1g
- Cholesterol: 25mg


