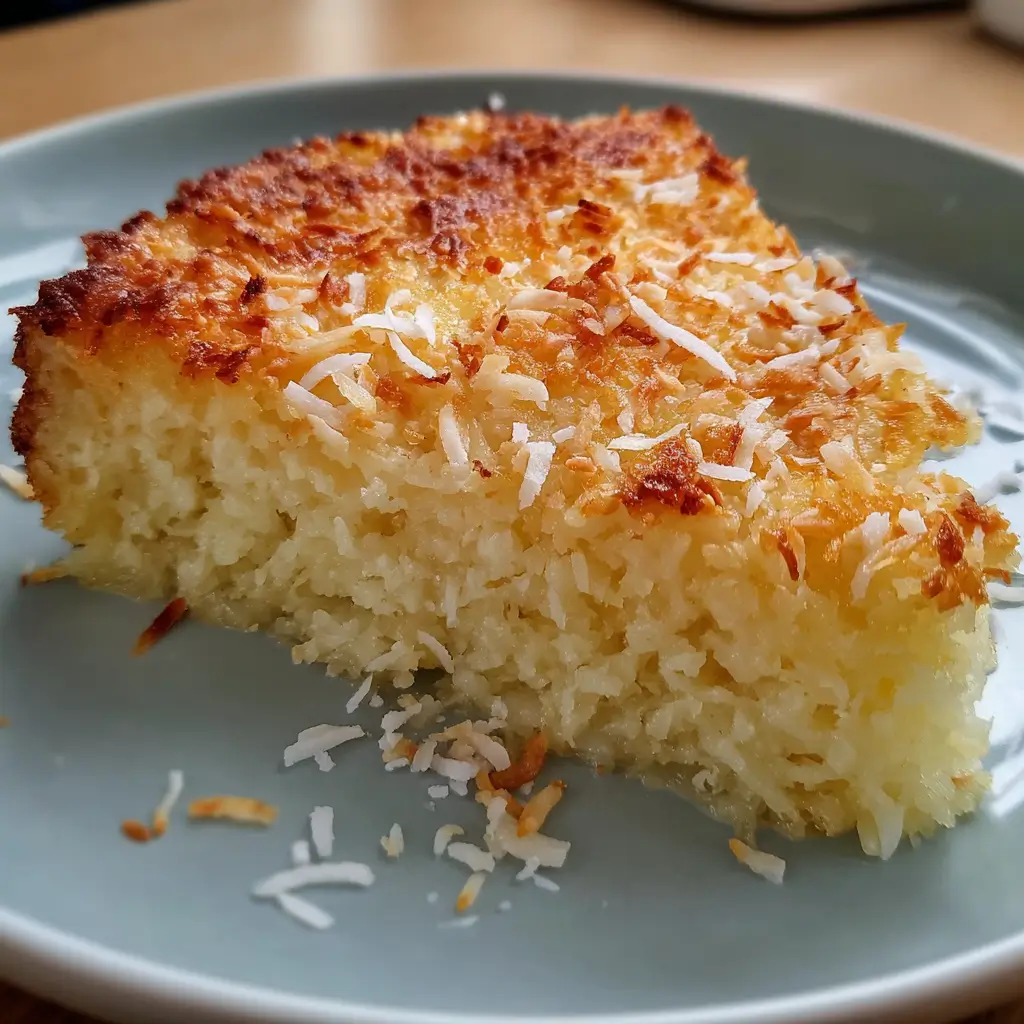
Imagine sinking your fork into a cloud-like dessert that’s simultaneously rich, creamy, and fragrant with tropical notes. That’s exactly what this Crustless Coconut Pie with Shredded Coconut and Vanilla delivers with every heavenly bite. Unlike traditional pies, this crustless wonder creates its own magical texture—crisp and caramelized at the edges while maintaining a lusciously tender center infused with vanilla and coconut. This effortless dessert captures the essence of homemade comfort while eliminating the fuss of preparing a crust. You’ll learn how to create this delightful coconut dessert with minimal ingredients and maximum flavor impact.
Why You’ll Love This Recipe
This Crustless Coconut Pie with Shredded Coconut and Vanilla is about to become your new favorite dessert for several compelling reasons. First, it’s remarkably simple to make—just mix, pour, and bake! The absence of a traditional crust means less prep time and fewer ingredients without sacrificing any taste or satisfaction.
The textural experience is truly special—the exterior develops a delicate, golden crust while the interior remains beautifully custard-like. The shredded coconut creates pockets of chewy texture throughout, providing a delightful contrast to the smooth, vanilla-scented base.
For coconut enthusiasts, this pie delivers an authentic tropical flavor that’s neither overwhelming nor artificial. The natural sweetness of coconut pairs perfectly with vanilla, creating a dessert that’s sophisticated yet comforting. Even better, it’s versatile enough for both casual family dinners and elegant entertaining. The minimal ingredient list makes it an economical option that never fails to impress.
Ingredients
For this sublime Crustless Coconut Pie with Shredded Coconut and Vanilla, you’ll need:
- 4 large eggs, at room temperature
- 1¾ cups (414ml) whole milk
- 1 cup (200g) granulated sugar
- ½ cup (64g) all-purpose flour
- ½ cup (113g) unsalted butter, melted and cooled slightly
- 1½ cups (120g) sweetened shredded coconut
- 2 teaspoons pure vanilla extract
- ¼ teaspoon salt
- ⅛ teaspoon ground nutmeg (optional)
The key to this recipe’s distinctive flavor is using high-quality shredded coconut—sweetened varieties work best for the perfect balance of sweetness and texture. Pure vanilla extract (not imitation) makes a noticeable difference in the final flavor profile. For the richest result, whole milk is recommended, though 2% can work in a pinch.
Pro Tips
Master the Mixing
Avoid overmixing the batter as this can incorporate too much air and affect the final texture. Mix just until the ingredients are combined for that perfect custard-like consistency. A whisk works perfectly for this task—no electric mixer necessary.
Perfect Temperature Control
Ensure your eggs and milk are at room temperature before beginning. Cold ingredients won’t incorporate as smoothly and can cause the melted butter to solidify prematurely. Additionally, allow the melted butter to cool slightly before adding it to prevent it from cooking the eggs on contact.
Know When It’s Done
The trickiest part of making a Crustless Coconut Pie with Shredded Coconut and Vanilla is knowing when it’s perfectly baked. Look for golden brown edges and a center that’s set but still has a slight jiggle—similar to a cheesecake. The pie will continue to set as it cools, so resist the urge to overbake. A toothpick inserted about 1 inch from the edge should come out mostly clean, while the center may still be slightly wet.
Instructions
Step 1: Prepare Your Kitchen
Preheat your oven to 350°F (175°C). Lightly grease a 9-inch pie plate with butter or cooking spray. Gathering all ingredients before beginning ensures a smooth preparation process.
Step 2: Mix the Base Ingredients
In a large mixing bowl, beat the eggs lightly. Add the sugar and whisk until just combined—the mixture should be slightly frothy but not overly aerated. Incorporate the flour and salt, whisking gently until no lumps remain.
Step 3: Add the Dairy and Flavors
Pour in the milk and melted butter, whisking constantly to create a smooth, pourable batter. The mixture will be quite thin at this stage. Stir in the vanilla extract, ensuring it’s evenly distributed throughout the batter.
Step 4: Incorporate the Coconut
Fold in the shredded coconut, distributing it evenly throughout the mixture. If using the optional nutmeg, add it now for a subtle warmth that complements the coconut beautifully.
Step 5: Bake to Perfection
Pour the batter into your prepared pie plate. The coconut will naturally float toward the top during baking, creating a lovely textured surface. Bake for 45-55 minutes, or until the edges are golden brown and slightly pulled away from the sides of the dish.
Step 6: Cool and Set
Allow the Crustless Coconut Pie with Shredded Coconut and Vanilla to cool completely on a wire rack for at least 2 hours before serving. This cooling period is essential for the pie to set properly and develop its distinctive layers and texture.
Variations
Tropical Paradise Version
Transform this Crustless Coconut Pie into an island-inspired dessert by adding ½ cup of finely diced fresh pineapple and 2 tablespoons of lime zest to the batter. The bright acidity of these tropical fruits beautifully balances the richness of the coconut, creating a refreshing twist on the classic recipe.
Chocolate Coconut Dream
For chocolate lovers, fold ½ cup of mini semi-sweet chocolate chips into the batter just before baking. The chocolate melts slightly during baking, creating pockets of rich goodness throughout the pie. For an extra touch, drizzle the cooled pie with melted dark chocolate before serving.
Dietary Adaptations
This recipe can be adapted for dietary restrictions with excellent results. For a dairy-free version, substitute the milk with full-fat coconut milk and use coconut oil instead of butter—this actually intensifies the coconut flavor beautifully. For a lower-sugar option, reduce the sugar to ¾ cup and use unsweetened shredded coconut instead.
Storage and Serving
This Crustless Coconut Pie with Shredded Coconut and Vanilla can be stored covered in the refrigerator for up to 4 days. While it’s delicious cold straight from the fridge, allowing it to come to room temperature for about 20 minutes before serving enhances its flavor and texture.
For an elegant presentation, serve each slice with a dollop of freshly whipped cream and a light dusting of toasted coconut flakes. A few fresh berries on the side—particularly raspberries or sliced strawberries—provide a beautiful color contrast and complement the sweet coconut flavor.
This pie also pairs wonderfully with a scoop of vanilla ice cream or a drizzle of warm caramel sauce for an indulgent dessert experience. For brunch gatherings, serve alongside strong coffee with a splash of coconut cream for a themed pairing that will delight your guests.
FAQs
Why did my pie separate into layers?
This natural separation is actually a desirable feature! During baking, the heavier ingredients sink while the lighter ones rise, creating distinct layers with a custard-like bottom and a coconut-rich top. It’s part of what makes this Crustless Coconut Pie special.
Can I use unsweetened coconut instead?
Yes, but you may want to increase the sugar by 2-3 tablespoons to compensate. Unsweetened coconut also tends to be drier, so consider soaking it in a tablespoon of milk before adding it to the batter.
Why is my pie still jiggly in the center?
Some jiggle is normal! The pie will continue to set as it cools. If the edges are golden and set but the center still has movement, it’s likely perfect. Overbaking can result in a tough, rubbery texture.
Can I make this ahead of time?
Absolutely! This pie actually improves after resting for several hours, making it an ideal make-ahead dessert. Prepare it up to a day in advance for best results.
Is this pie gluten-free?
The standard recipe contains flour, but it can be successfully made gluten-free by substituting the all-purpose flour with an equal amount of gluten-free 1:1 baking flour blend.
Conclusion
This Crustless Coconut Pie with Shredded Coconut and Vanilla is comfort food at its finest—a nostalgic dessert that somehow manages to feel both homey and sophisticated at once. It’s the kind of dish that transforms an ordinary meal into a special occasion, bringing smiles with each blissful bite of creamy, coconut-flecked goodness. Whether you’re serving it to impressed dinner guests or enjoying a slice with your afternoon tea, this effortless pie proves that sometimes the simplest recipes deliver the most magical results.
Print
Crustless Coconut Pie with Shredded Coconut and Vanilla
Description
The ultimate lazy baker’s dream come true! This crustless coconut pie forms its own perfect texture while baking, so you get all the flavor with half the work.
Ingredients
- 4 large eggs, at room temperature
- 1¾ cups whole milk
- 1 cup granulated sugar
- ½ cup all-purpose flour
- ½ cup unsalted butter, melted and cooled slightly
- 1½ cups sweetened shredded coconut
- 2 teaspoons pure vanilla extract
- ¼ teaspoon salt
- ⅛ teaspoon ground nutmeg (optional)
Instructions
- Preheat your oven to 350°F (175°C) and lightly grease a 9-inch pie plate.
- In a large mixing bowl, beat the eggs lightly, then add sugar and whisk until just combined.
- Incorporate the flour and salt, whisking gently until no lumps remain.
- Pour in the milk and melted butter, whisking constantly to create a smooth batter.
- Stir in the vanilla extract, then fold in the shredded coconut and optional nutmeg.
- Pour the batter into your prepared pie plate and bake for 45-55 minutes, until edges are golden brown.
- Allow to cool completely on a wire rack for at least 2 hours before serving.
- Store covered in the refrigerator for up to 4 days.


