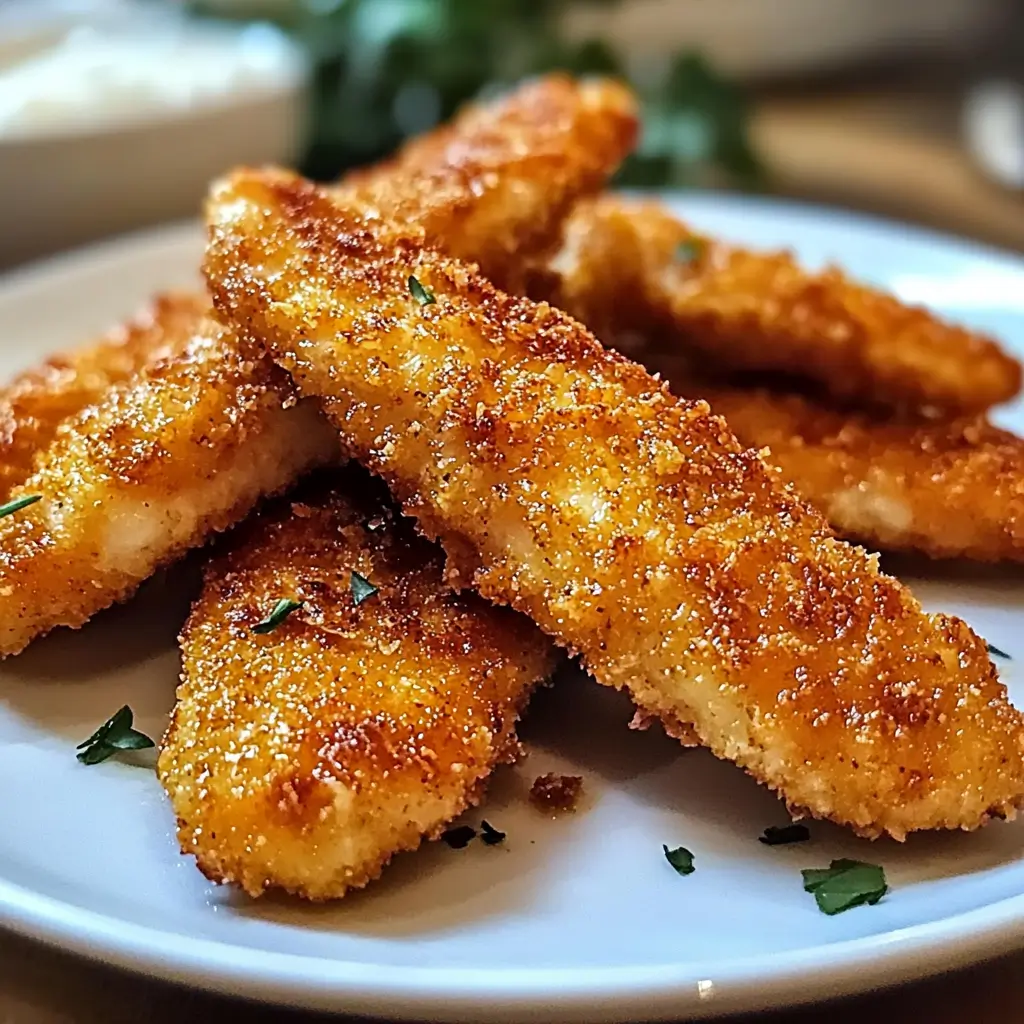
The satisfying crunch of golden-brown Crispy Baked Chicken Tenders is hard to resist. These deliciously tender strips of chicken breast are coated with a perfectly seasoned breadcrumb mixture and baked until irresistibly crunchy on the outside while remaining juicy on the inside. Unlike their deep-fried counterparts, these Crispy Baked Chicken Tenders offer the same satisfying texture but with significantly less oil and mess. You’ll learn how to achieve restaurant-quality chicken tenders right in your own kitchen, with simple ingredients and foolproof techniques that guarantee success every time.
Why You’ll Love This Recipe
You’ll quickly add these Crispy Baked Chicken Tenders to your regular meal rotation for several compelling reasons. First, they deliver that satisfying crunch factor that makes chicken tenders so craveable, but without the excess oil and calories of deep frying. The contrast between the crispy, golden exterior and the tender, juicy chicken inside creates a textural experience that both kids and adults find irresistible.
These homemade chicken strips are also incredibly versatile. They work beautifully as a quick weeknight dinner, a crowd-pleasing appetizer, or packed in lunch boxes (they’re still delicious at room temperature). Plus, the preparation is straightforward with no special equipment needed.
The recipe uses common pantry ingredients, meaning you can often whip these up without a special trip to the grocery store. The seasoning blend in the breading can be customized to your family’s preferences, making this a truly adaptable recipe that grows with your tastes. Best of all, baked chicken fingers are healthier than their fried counterparts but don’t sacrifice any of the flavor or texture that makes them so popular.
Ingredients
For these perfect baked chicken strips, you’ll need:
- 2 lbs (900g) chicken tenders or boneless, skinless chicken breast cut into 1-inch strips
- 1 cup (120g) all-purpose flour
- 1 tsp salt
- 1/2 tsp black pepper
- 2 large eggs
- 2 tbsp milk
- 2 cups (240g) panko breadcrumbs (these create superior crispiness)
- 1/2 cup (45g) regular breadcrumbs
- 1/2 cup (50g) grated Parmesan cheese (adds umami flavor and helps with browning)
- 1 tsp garlic powder
- 1 tsp onion powder
- 1 tsp paprika (adds color and mild flavor)
- 1/2 tsp dried thyme
- Olive oil cooking spray
The combination of panko and regular breadcrumbs provides the perfect texture, while the Parmesan cheese adds depth of flavor and helps achieve that golden-brown exterior that makes these Crispy Baked Chicken Tenders so appealing.
Pro Tips
Preparation Is Key: Set up your breading station in a logical order—flour mixture, egg wash, breadcrumb mixture—and use one hand for wet ingredients and the other for dry ingredients. This prevents your fingers from becoming coated with layers of breading and ensures a more even coating on your homemade chicken tenders.
The Double Spray Technique: The secret to truly crispy oven-baked tenders is moisture management. After arranging the breaded tenders on your baking sheet, give them a good spray with olive oil cooking spray. This helps the breadcrumbs crisp up beautifully. Then, halfway through the baking time, flip the tenders and spray the other side. This ensures even browning and maximum crispiness without deep frying.
Temperature Matters: For the juiciest homemade chicken strips, don’t overcook them. Use an instant-read thermometer to check that they’ve reached 165°F (74°C) in the thickest part. They’ll continue cooking slightly after removing from the oven, so pulling them right at 165°F ensures they won’t dry out. If you don’t have a thermometer, cut into the thickest tender—the meat should be white throughout with no pink, and the juices should run clear.
Instructions
Step 1: Preheat your oven to 425°F (220°C). Line a large baking sheet with parchment paper and place a wire rack on top if you have one. The elevated rack allows air to circulate around the Crispy Baked Chicken Tenders, ensuring they crisp evenly on all sides.
Step 2: If using chicken breasts instead of tenders, slice them against the grain into strips about 1 inch wide. Pat all chicken pieces dry with paper towels—this is crucial for helping the breading adhere properly.
Step 3: Set up your breading station with three shallow dishes. In the first dish, combine the flour, salt, and pepper. In the second dish, whisk together the eggs and milk until well blended. In the third dish, mix the panko breadcrumbs, regular breadcrumbs, Parmesan cheese, garlic powder, onion powder, paprika, and dried thyme.
Step 4: Working with one piece at a time, dredge the chicken in the flour mixture, shaking off any excess. Next, dip it into the egg mixture, allowing any excess to drip off. Finally, press it into the breadcrumb mixture, ensuring it’s evenly coated on all sides. Place the breaded tender on your prepared baking sheet.
Step 5: Once all tenders are breaded, spray them lightly but thoroughly with olive oil cooking spray. This helps achieve that golden-brown color and crispy texture you’re looking for in perfect baked chicken fingers.
Step 6: Bake in the preheated oven for 10 minutes, then flip each tender over and spray the other side with cooking spray. Return to the oven and bake for an additional 7-10 minutes until golden brown and cooked through (internal temperature should reach 165°F or 74°C).
Step 7: Allow the Crispy Baked Chicken Tenders to rest for 5 minutes before serving. This helps the juices redistribute throughout the meat, ensuring maximum tenderness and flavor in every bite.
Variations
Spicy Buffalo Chicken Tenders: Add 1 tablespoon of cayenne pepper to your breadcrumb mixture for heat throughout, or keep the breading as is and toss the baked tenders in buffalo sauce right after cooking. Serve with blue cheese dressing and celery sticks for an appetizer that disappears quickly at any gathering.
Gluten-Free Chicken Strips: These oven-baked tenders are easily adapted for gluten-free diets. Simply substitute the all-purpose flour with a gluten-free blend and replace the breadcrumbs with gluten-free panko or crushed gluten-free corn flakes. The texture remains impressively crispy, and most people won’t even notice the difference.
Herb and Lemon Chicken Tenders: For a brighter, more aromatic version, add 2 tablespoons of finely chopped fresh herbs (like parsley, basil, and dill) and 1 tablespoon of lemon zest to your breadcrumb mixture. These homemade chicken strips offer a lighter flavor profile that pairs beautifully with spring and summer meals.
Storage and Serving
These Crispy Baked Chicken Tenders can be stored in an airtight container in the refrigerator for up to 3 days. To reheat while maintaining their crispiness, place them on a wire rack over a baking sheet and warm in a 350°F (175°C) oven for about 10 minutes. Avoid microwaving if possible, as this makes the breading soggy.
For serving, these versatile baked chicken fingers pair wonderfully with a variety of dipping sauces. Try honey mustard, ranch dressing, BBQ sauce, or a simple sriracha mayo for different flavor experiences. Make a complete meal by serving them alongside a crisp green salad, sweet potato fries, or roasted vegetables.
For a fun family dinner, create a DIY chicken tender bar with various sauces, sliced vegetables, and sides, allowing everyone to customize their plate. These tenders also work wonderfully sliced and added to wraps or salads for a protein boost.
FAQs
Why aren’t my chicken tenders getting crispy in the oven?
Make sure your oven is fully preheated to 425°F and don’t forget to spray the breaded tenders with cooking spray before baking. Using a wire rack elevates the tenders and allows air to circulate, which also helps with crispiness.
Can I make these chicken tenders ahead of time?
Yes! You can bread the chicken up to 2 hours ahead and refrigerate until ready to bake. For longer preparation, you can freeze the uncooked breaded tenders for up to 3 months. Bake directly from frozen, adding about 5-7 minutes to the cooking time.
What’s the best way to tell when chicken tenders are done?
The most reliable method is using an instant-read thermometer, which should register 165°F (74°C) at the thickest part. Visually, the breading should be golden brown, and when cut, the meat should be white throughout with no pink.
Can I use chicken thighs instead of breast meat?
Absolutely! Boneless, skinless chicken thighs work well and often result in juicier tenders. Cut them into strips similar in size to traditional tenders and follow the recipe as written.
My breadcrumb coating falls off during cooking. What am I doing wrong?
Make sure to pat the chicken completely dry before starting the breading process. Press the breadcrumbs firmly onto the chicken, and let the breaded pieces rest for 5-10 minutes before baking to help the coating adhere better.
Conclusion
These Crispy Baked Chicken Tenders are comfort food at its finest — crunchy on the outside, tender on the inside, and so much healthier than their deep-fried counterparts. They’re the kind of dish that brings the whole family to the table with smiles, satisfying picky eaters and food enthusiasts alike. Whether you’re serving them as a quick weeknight dinner, packing them in lunch boxes, or presenting them as party appetizers, these homemade tenders deliver restaurant-quality taste with minimal effort. Master this recipe, and you’ll never need to reach for the frozen version again!
Print
Crispy Baked Chicken Tenders
Description
These crispy baked chicken tenders give you that satisfying crunch without the guilt of deep-frying. Skip the drive-thru and make this family favorite right at home.
Ingredients
- 2 lbs (900g) chicken tenders or boneless, skinless chicken breast cut into 1-inch strips
- 1 cup (120g) all-purpose flour
- 1 tsp salt
- 1/2 tsp black pepper
- 2 large eggs
- 2 tbsp milk
- 2 cups (240g) panko breadcrumbs
- 1/2 cup (45g) regular breadcrumbs
- 1/2 cup (50g) grated Parmesan cheese
- 1 tsp garlic powder
- 1 tsp onion powder
- 1 tsp paprika
- 1/2 tsp dried thyme
- Olive oil cooking spray
Instructions
- Preheat oven to 425°F (220°C). Line a baking sheet with parchment paper and place a wire rack on top if available.
- Pat chicken pieces dry with paper towels. If using chicken breasts, slice against the grain into 1-inch strips.
- Set up three shallow dishes: In the first, combine flour, salt, and pepper. In the second, whisk eggs and milk. In the third, mix both breadcrumbs, Parmesan, and all seasonings.
- Dredge each chicken piece in flour, then egg mixture, then breadcrumb mixture, pressing to adhere.
- Arrange breaded tenders on the prepared baking sheet, leaving space between each piece.
- Spray the tenders thoroughly with olive oil cooking spray.
- Bake for 10 minutes, then flip, spray the other side, and bake an additional 7-10 minutes until golden and internal temperature reaches 165°F (74°C).
- Let rest for 5 minutes before serving with your favorite dipping sauces.


