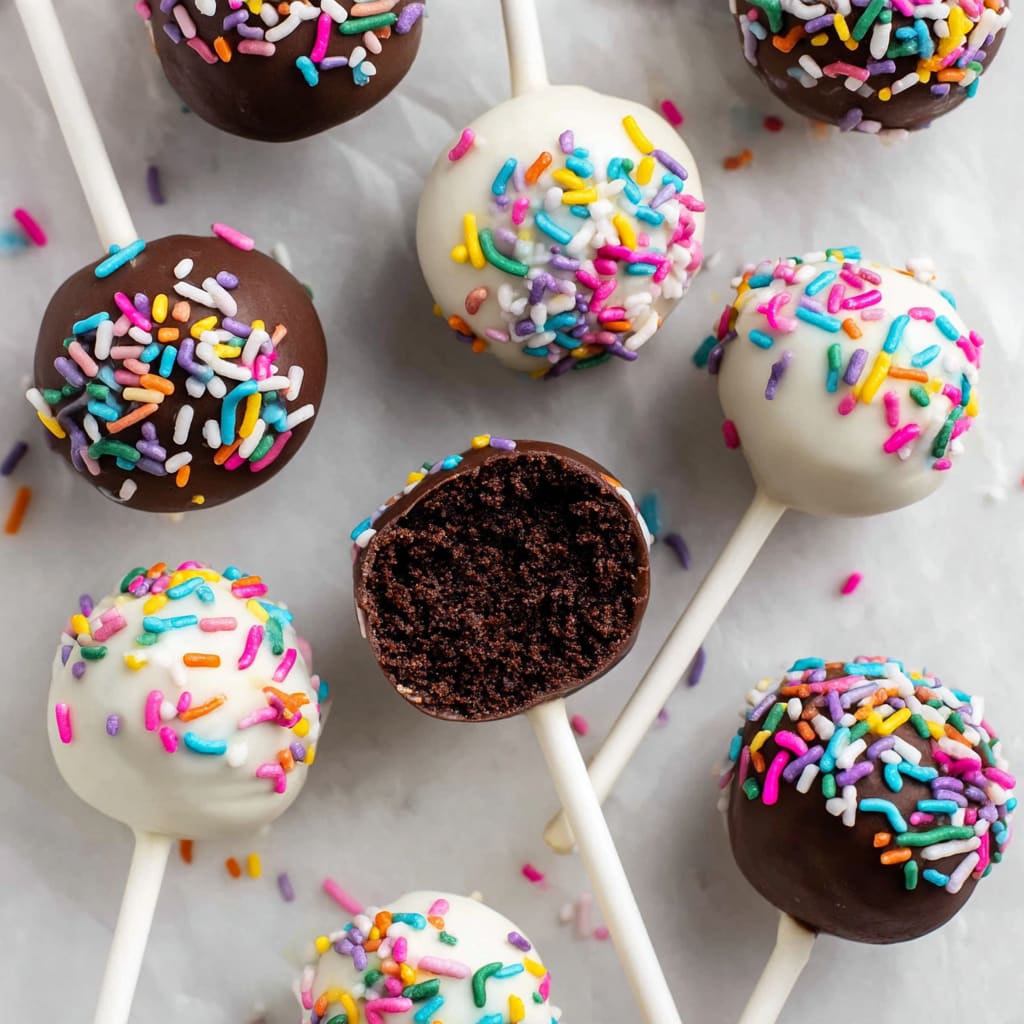
Imagine biting into a decadent, fudgy ball of chocolate cake encased in a crisp, sweet chocolate shell – that’s the magic of Chocolate Cake Pops! These bite-sized treats combine the rich depth of moist cake with the satisfying snap of a chocolate coating, creating an irresistible dessert that’s perfect for parties, gifts, or simply treating yourself. Chocolate Cake Pops have become a sensation for good reason – they’re portable, portion-controlled, and incredibly versatile. You’ll learn how to create these delightful confections from scratch, master the perfect cake-to-frosting ratio, and discover creative decoration techniques that will make your cake pops truly stand out.
Why You’ll Love This Recipe
These Chocolate Cake Pops deliver an experience that will have everyone asking for your secret recipe. The contrast between the velvety smooth cake interior and the crisp chocolate exterior creates a textural symphony that makes each bite pure bliss. What makes this recipe particularly special is its forgiving nature – even if your cake turns out a bit dry or crumbly, the addition of frosting transforms it into perfectly moist cake pop centers!
Time-strapped bakers will appreciate that these cake pops can be made in stages, allowing you to fit the process into your busy schedule. Plus, they’re incredibly versatile – dress them up with sprinkles for birthday celebrations, add gold dust for elegant affairs, or customize the colors for holidays and special events.
Perhaps most satisfying is watching guests’ eyes light up when they discover these aren’t store-bought treats but your homemade creations. The combination of rich chocolate flavor, perfect portion size, and adorable presentation makes these Chocolate Cake Pops simply irresistible.
Ingredients
For the Chocolate Cake Pops, you’ll need:
For the cake:
- 1 box (15.25 oz/432g) chocolate cake mix
- 3 large eggs, at room temperature
- ½ cup (120ml) vegetable oil
- 1 cup (240ml) water
For the frosting and assembly:
- ⅓ cup (75g) chocolate frosting (store-bought or homemade)
- 16 oz (450g) high-quality chocolate melting wafers (dark, milk, or white)
- 2 tablespoons (30g) shortening or coconut oil (helps thin the chocolate)
- 30-35 lollipop sticks
- Sprinkles, chopped nuts, or other decorations (optional)
The quality of your chocolate matters significantly here – opt for chocolate melting wafers specifically designed for coating, as they contain the proper amount of cocoa butter for a smooth finish that hardens nicely. The chocolate frosting serves as the binding agent, creating that perfect fudgy texture inside your cake pops.
Pro Tips
Master the Moisture Balance: The most critical aspect of perfect Chocolate Cake Pops is achieving the right consistency. Start with less frosting than you think you need (about ⅓ cup for a standard box cake) and gradually add more if needed. Your mixture should resemble play-dough – moist enough to hold together when rolled but not so wet that it loses shape. If your mixture becomes too moist, add a few tablespoons of cake crumbs back in to absorb the excess moisture.
Temperature Control is Crucial: Freezing your cake balls before dipping them is non-negotiable! Chill formed cake balls for at least 2 hours in the freezer. This ensures they hold together during the dipping process. However, your chocolate coating should be warm (but not hot) – aim for 90-95°F (32-35°C) for optimal dipping. If the chocolate is too hot, it will cause your cold cake balls to crack as they warm up.
Perfect Dipping Technique: Use a deep, narrow container for your melted chocolate to ensure complete coverage while dipping. After inserting the stick into a chilled cake ball, dip it in one smooth motion, then gently tap your wrist (not the pop itself) to remove excess chocolate. Immediately add any sprinkles or decorations before the coating sets, rotating the pop as you work to cover all sides evenly.
Instructions
Step 1: Bake the Cake
Preheat your oven to 350°F (175°C) and prepare a 9×13-inch baking pan with nonstick spray. Combine the chocolate cake mix, eggs, oil, and water in a large bowl. Mix on medium speed for about 2 minutes until well combined. Pour the batter into your prepared pan and bake for 28-32 minutes, or until a toothpick inserted in the center comes out with a few moist crumbs. Allow the cake to cool completely in the pan on a wire rack (about 1-2 hours).
Step 2: Create the Cake Mixture
Once cooled, transfer the cake to a large bowl and break it up into fine crumbs using your fingers or a fork. No need for perfection here – this is actually fun! Add ¼ cup of the chocolate frosting initially and mix thoroughly with a spatula or your hands (clean hands work best). Gradually add more frosting, a tablespoon at a time, until the mixture holds together when squeezed but isn’t overly sticky or wet.
Step 3: Form the Cake Balls
Line a baking sheet with parchment paper. Using a 1½-inch cookie scoop or tablespoon, portion out the cake mixture and roll between your palms to form smooth balls. For consistent results, aim for each ball to be about 1.5 inches in diameter – this should yield approximately 30-35 cake balls. Place the balls on your prepared baking sheet and freeze for at least 2 hours or overnight.
Step 4: Prepare for Dipping
About 15 minutes before you’re ready to dip, remove half the cake balls from the freezer (keeping the rest frozen until needed). Melt your chocolate in a microwave-safe bowl in 30-second intervals, stirring between each until smooth. Add the shortening or coconut oil and stir until incorporated – this helps achieve the perfect dipping consistency. Transfer the melted chocolate to a deep, narrow container for easier dipping.
Step 5: Dip and Decorate
Dip the tip of a lollipop stick about ½ inch into the melted chocolate, then insert it halfway into a cake ball. This helps anchor the cake pop to the stick. Allow it to set for a moment, then dip the entire cake ball into the chocolate, ensuring complete coverage. Gently tap your wrist to remove excess coating, then immediately add sprinkles or decorations before the chocolate sets. Stand your cake pops upright in a styrofoam block or cake pop stand to dry completely, which takes about 1 hour.
Variations
White Chocolate Red Velvet Cake Pops: Swap the chocolate cake for red velvet cake mix and use cream cheese frosting as your binder. Dip in white chocolate coating for a striking red-and-white contrast that’s perfect for Valentine’s Day or Christmas celebrations. The tanginess of the cream cheese frosting beautifully complements the subtle cocoa flavor of the red velvet.
Gluten-Free Chocolate Cake Pops: Create an inclusive treat by using a gluten-free chocolate cake mix and ensuring your frosting and coating chocolate are also gluten-free. The texture might be slightly different, but the binding process with frosting helps create a remarkably similar end result that everyone can enjoy.
Chocolate-Covered Strawberry Cake Pops: Add freeze-dried strawberry powder to your chocolate cake mixture for a fruity twist. Dip in dark chocolate and finish with a drizzle of pink-tinted white chocolate for an elegant flavor combination that mimics chocolate-covered strawberries in cake pop form.
Storage and Serving
Chocolate Cake Pops maintain their best quality when stored in an airtight container in the refrigerator for up to 1 week. Allow them to come to room temperature for about 20 minutes before serving for the best flavor and texture experience. For longer storage, you can freeze unfrosted cake balls for up to 2 months – simply thaw in the refrigerator overnight before dipping.
For a stunning presentation, arrange your cake pops in a decorative container with colorful tissue paper, creating a “bouquet” effect that’s perfect as an edible centerpiece. Alternatively, place individual cake pops in clear cellophane bags tied with ribbons for charming party favors or gifts.
For a dessert table upgrade, create a cake pop serving station with various complementary items like espresso shots for adults or small glasses of milk for children. The bite-sized nature of Chocolate Cake Pops also makes them ideal companions to other miniature desserts like macarons or mini cupcakes for an impressive dessert spread.
FAQs
Why are my cake pops falling off the sticks?
This typically happens when the cake balls are too heavy or not chilled enough. Ensure your cake mixture isn’t too moist, and freeze the balls for at least 2 hours before dipping. Also, remember to dip the stick in chocolate before inserting it into the cake ball to create a “glue” that helps secure it.
Why is my chocolate coating cracking?
Cracking occurs when there’s a significant temperature difference between the frozen cake ball and the chocolate coating. Allow your cake balls to warm slightly (about 5-10 minutes) after removing from the freezer, and make sure your melted chocolate isn’t too hot when dipping.
Can I make these cake pops ahead of time?
Absolutely! You can prepare the cake balls up to a month in advance and store them in the freezer. When ready to serve, thaw overnight in the refrigerator, then proceed with the dipping and decorating steps.
How do I prevent the “cake pop sweats”?
That condensation that sometimes forms on cake pops is due to temperature changes. To prevent this, store your finished cake pops in the refrigerator but serve them at room temperature. Avoid moving them between extreme temperatures quickly.
Can I use homemade cake instead of box mix?
Yes! Homemade chocolate cake works wonderfully, though you may need to adjust the amount of frosting used depending on how moist your cake recipe is. Dense, fudgy cakes typically require less frosting than lighter, fluffier cakes.

Chocolate Cake Pops
- Prep Time: 20 minutes
- Cook Time: 30 minutes
- Total Time: 2 hours 30 minutes
- Yield: 30–35 cake pops 1x
- Category: Dessert
- Method: Baking
- Cuisine: Americaine
Description
Chocolate Cake Pops – Decadent chocolate cake transformed into bite-sized treats, perfect for any occasion. Irresistible, easy to make, and sure to delight!
Ingredients
- 1 box (15.25 oz/432g) chocolate cake mix
- 3 large eggs, at room temperature
- ½ cup (120ml) vegetable oil
- 1 cup (240ml) water
- ⅓ cup (75g) chocolate frosting (store-bought or homemade)
- 16 oz (450g) high-quality chocolate melting wafers (dark, milk, or white)
- 2 tablespoons (30g) shortening or coconut oil (helps thin the chocolate)
- 30–35 lollipop sticks
- Sprinkles, chopped nuts, or other decorations (optional)
Instructions
- Step 1: Bake the Cake Preheat your oven to 350°F (175°C) and prepare a 9×13-inch baking pan with nonstick spray. Combine the chocolate cake mix, eggs, oil, and water in a large bowl. Mix on medium speed for about 2 minutes until well combined. Pour the batter into your prepared pan and bake for 28-32 minutes, or until a toothpick inserted in the center comes out with a few moist crumbs. Allow the cake to cool completely in the pan on a wire rack (about 1-2 hours).
- Step 2: Create the Cake Mixture Once cooled, transfer the cake to a large bowl and break it up into fine crumbs using your fingers or a fork. No need for perfection here – this is actually fun! Add ¼ cup of the chocolate frosting initially and mix thoroughly with a spatula or your hands (clean hands work best). Gradually add more frosting, a tablespoon at a time, until the mixture holds together when squeezed but isn’t overly sticky or wet.
- Step 3: Form the Cake Balls Line a baking sheet with parchment paper. Using a 1½-inch cookie scoop or tablespoon, portion out the cake mixture and roll between your palms to form smooth balls. For consistent results, aim for each ball to be about 1.5 inches in diameter – this should yield approximately 30-35 cake balls. Place the balls on your prepared baking sheet and freeze for at least 2 hours or overnight.
- Step 4: Prepare for Dipping About 15 minutes before you’re ready to dip, remove half the cake balls from the freezer (keeping the rest frozen until needed). Melt your chocolate in a microwave-safe bowl in 30-second intervals, stirring between each until smooth. Add the shortening or coconut oil and stir until incorporated – this helps achieve the perfect dipping consistency. Transfer the melted chocolate to a deep, narrow container for easier dipping.
- Step 5: Dip and Decorate Dip the tip of a lollipop stick about ½ inch into the melted chocolate, then insert it halfway into a cake ball. This helps anchor the cake pop to the stick. Allow it to set for a moment, then dip the entire cake ball into the chocolate, ensuring complete coverage. Gently tap your wrist to remove excess coating, then immediately add sprinkles or decorations before the chocolate sets. Stand your cake pops upright in a styrofoam block or cake pop stand to dry completely, which takes about 1 hour.
Notes
Fresh ingredients will always yield the best flavor results.
Nutrition
- Serving Size: 1 cake pop
- Calories: 180 calories
- Sugar: 15 grams
- Sodium: 120 mg
- Fat: 10 grams
- Saturated Fat: 5 grams
- Unsaturated Fat: 4 grams
- Trans Fat: 0 grams
- Carbohydrates: 20 grams
- Fiber: 1 gram
- Protein: 2 grams
- Cholesterol: 20 mg


