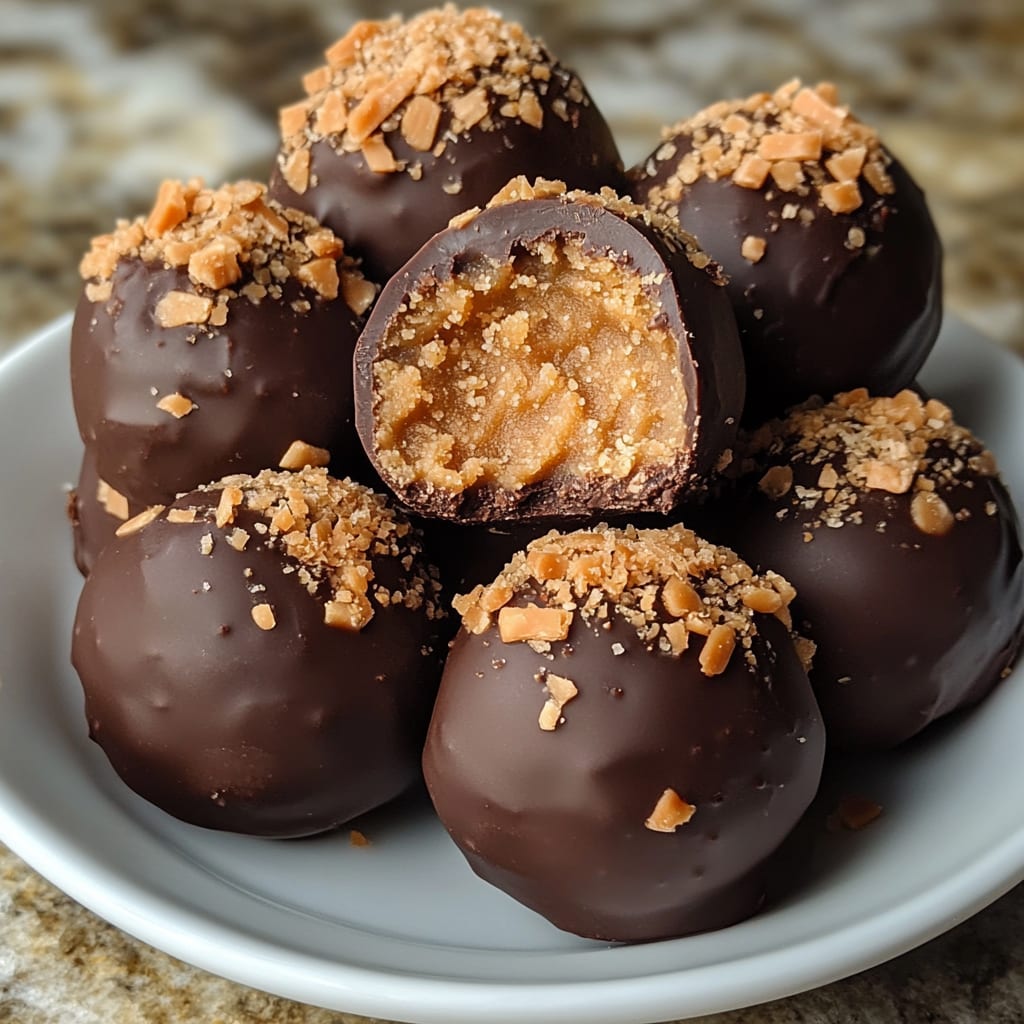
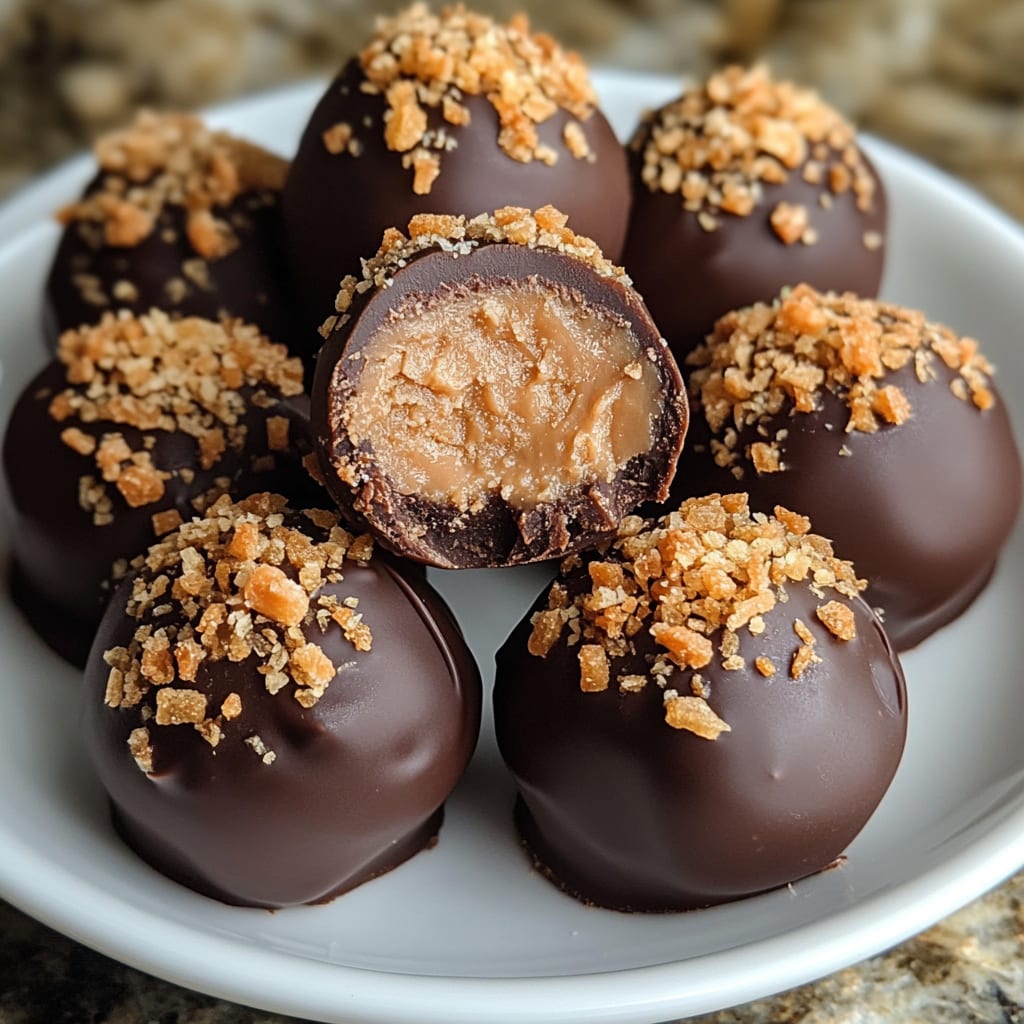
Imagine biting into a decadent, peanut butter-infused treat with that iconic crispy, buttery crunch that Butterfinger lovers crave. These homemade Butterfinger Balls deliver all that nostalgic candy bar flavor in an easy-to-make, bite-sized dessert that’s impossible to resist. The combination of creamy peanut butter, crunchy candy bits, and smooth chocolate coating creates a texture sensation that will have everyone reaching for seconds. You’ll learn how to create these irresistible Butterfinger Balls with simple ingredients and foolproof techniques that guarantee perfect results every time.
Why You’ll Love This Recipe
These Butterfinger Balls are about to become your new favorite no-bake treat for several compelling reasons. First, they require just a handful of ingredients you likely already have in your pantry, making them perfect for last-minute dessert emergencies. The contrast between the velvety peanut butter center and the crispy Butterfinger crunch creates an addictive textural experience, while the outer chocolate shell adds that perfect snap when you bite into it.
What really sets these Butterfinger Balls apart is their versatility – they’re elegant enough for holiday cookie platters but casual enough for movie night snacking. They also store beautifully, allowing you to prepare them in advance for parties or gift-giving. Perhaps best of all, this recipe requires zero baking, making it accessible for cooks of all skill levels and perfect for summer when you don’t want to heat up the kitchen. The simplicity-to-impression ratio is off the charts – these little treats look like they came from a gourmet candy shop but take just minutes to prepare.
Ingredients
To make approximately 24 Butterfinger Balls, you’ll need:
- 1 cup (250g) creamy peanut butter (not the natural kind that separates)
- 2 cups (240g) powdered sugar
- 4 Butterfinger candy bars (standard size, about 2.1oz each), finely crushed
- 6 tablespoons (85g) unsalted butter, softened
- 1/4 teaspoon salt (omit if using salted butter)
- 1 teaspoon vanilla extract
- 2 cups (350g) chocolate chips (semi-sweet or milk chocolate)
- 2 tablespoons (30ml) vegetable shortening or coconut oil
The creamy peanut butter serves as the binding agent and primary flavor base. Opt for commercial brands like Jif or Skippy rather than natural peanut butter, as the stabilizers help maintain the perfect consistency. The crushed Butterfinger candy bars are what give these treats their signature flavor and that distinctive crispy texture that sets Butterfinger Balls apart from ordinary peanut butter balls.
Pro Tips
Perfect Crushing Technique
For the ideal Butterfinger Balls texture, proper candy crushing is crucial. Place unwrapped candy bars in a ziplock bag and use a rolling pin to crush them, rather than a food processor which can pulverize them too finely. You want a mix of small pieces and some slightly larger bits for that authentic Butterfinger texture. The goal is crushed candy, not powder.
Temperature Control Matters
Keep ingredients at the right temperature for best results. Your peanut butter mixture should be chilled enough to roll easily without sticking to your hands, but not so cold that it cracks. After forming the balls, chill them thoroughly (at least 30 minutes) before dipping in chocolate. Conversely, your melted chocolate should be warm enough to coat smoothly but not so hot that it melts the filling.
Dipping Perfection
For the smoothest chocolate coating on your Butterfinger Balls, add shortening or coconut oil to the chocolate when melting. This creates a thinner consistency that coats more evenly and sets with a beautiful shine. Use a fork or specialized dipping tools to lower the balls into the chocolate, gently tap to remove excess, and slide onto parchment paper. For a professional finish, add a tiny sprinkle of crushed Butterfinger on top of each ball while the chocolate is still wet.
Instructions
Step 1: Prepare the Filling
In a large mixing bowl, combine the softened butter and peanut butter, beating until completely smooth and creamy. Add the vanilla extract and salt, then mix until incorporated. Gradually add the powdered sugar, mixing at low speed to prevent a sugar cloud, until fully integrated. The mixture will become quite thick. Fold in the crushed Butterfinger pieces, distributing them evenly throughout the peanut butter mixture. The filling should hold together when pressed but still be somewhat soft.
Step 2: Form the Balls
Line a baking sheet with parchment paper. Using a tablespoon or small cookie scoop, portion out the mixture into roughly equal amounts. Roll each portion between your palms to create smooth, round balls approximately 1-inch in diameter. If the mixture becomes sticky, chill it for 10 minutes before continuing. Place the formed Butterfinger Balls on the lined baking sheet, spacing them apart to avoid touching. Refrigerate for at least 30 minutes until firm.
Step 3: Melt the Chocolate
While the balls are chilling, prepare your chocolate coating. In a microwave-safe bowl, combine chocolate chips and shortening or coconut oil. Microwave in 30-second intervals at 50% power, stirring between each interval, until completely melted and smooth. Alternatively, use a double boiler for more controlled melting. The chocolate should have a silky, flowing consistency that’s not too thick or thin. Let it cool slightly before dipping to ensure it doesn’t melt the chilled centers.
Step 4: Dip and Decorate
Remove the chilled Butterfinger Balls from the refrigerator. Working with one ball at a time, drop it into the melted chocolate. Using a fork, gently turn the ball to coat it completely, then lift it out, allowing excess chocolate to drip back into the bowl. A gentle tap of the fork on the bowl’s edge helps remove additional excess. Carefully transfer the chocolate-coated ball back to the parchment paper. If desired, immediately sprinkle a few crushed Butterfinger bits on top for decoration and to hint at what’s inside. Repeat with remaining balls.
Step 5: Set and Store
Allow the chocolate-coated Butterfinger Balls to set completely at room temperature, which typically takes about an hour, or speed up the process by refrigerating them for 15-20 minutes. Once set, transfer to an airtight container, separating layers with parchment paper to prevent sticking. For the best flavor experience, let them sit at room temperature for about 10 minutes before serving to allow the centers to soften slightly.
Variations
White Chocolate Butterfinger Balls
For a striking visual contrast and different flavor profile, swap the regular chocolate coating for high-quality white chocolate. The creamy sweetness of white chocolate beautifully complements the peanut butter and Butterfinger interior. After dipping, drizzle with a small amount of melted milk chocolate for an elegant finish. These white chocolate Butterfinger Balls are particularly festive for holiday gatherings.
Butterfinger Peanut Butter Cup Hybrid
Create a hybrid treat by pressing the filling mixture into mini cupcake liners instead of rolling into balls. First, spoon a layer of melted chocolate into the bottom of each liner, chill until set, add a disk of the Butterfinger mixture, then top with more chocolate. This creates a peanut butter cup-style treat with the distinctive Butterfinger Balls filling. For extra indulgence, mix some chopped peanuts into the filling.
Butterfinger Cookie Dough Balls
For a cookie dough twist, reduce the powdered sugar to 1½ cups and add ½ cup of graham cracker crumbs to the mixture. This creates a filling reminiscent of cookie dough while maintaining the essential Butterfinger Balls character. Add mini chocolate chips to the filling for extra texture and chocolate flavor. This variation is particularly popular with children and creates a unique twist on the classic recipe.
Storage and Serving
Butterfinger Balls maintain their quality remarkably well in proper storage. Keep them in an airtight container in the refrigerator, where they’ll stay fresh for up to two weeks. For longer storage, these treats freeze beautifully for up to three months—simply place them in a freezer-safe container with parchment between layers to prevent sticking. When ready to enjoy, thaw in the refrigerator overnight.
For the ultimate serving experience, pair these Butterfinger Balls with a glass of cold milk, which perfectly balances the sweet, peanutty richness. They also make an excellent addition to dessert charcuterie boards alongside fresh berries and other complementary treats. For an elevated dessert, serve 2-3 balls in a small bowl with a scoop of vanilla ice cream and a drizzle of warm chocolate sauce. When gifting, place Butterfinger Balls in mini cupcake liners and arrange in a decorative tin or clear gift bag tied with ribbon for a presentation as delightful as the treats themselves.
FAQs
Can I use crunchy peanut butter instead of creamy?
Yes, crunchy peanut butter can be substituted for creamy in Butterfinger Balls, but expect a different texture. The additional peanut pieces will create extra crunch that competes with the Butterfinger pieces. If using crunchy, you might want to reduce the amount of crushed candy bars slightly.
Why are my Butterfinger Balls too sticky to roll?
If your mixture is too sticky, it likely needs more powdered sugar or time in the refrigerator. Chill the mixture for 15-20 minutes before attempting to roll again, or add powdered sugar one tablespoon at a time until you reach a rollable consistency.
Can I use candy melts instead of chocolate chips?
Absolutely! Candy melts are an excellent alternative for coating Butterfinger Balls and don’t require the addition of shortening or coconut oil. They also come in various colors, allowing for creative presentations for holidays or special occasions.
How far in advance can I make these for an event?
Butterfinger Balls can be made up to one week in advance and stored in the refrigerator, or up to three months if frozen. This makes them perfect for pre-planning party desserts or holiday gifts.
Why did my chocolate coating crack after setting?
Chocolate cracking usually occurs when the Butterfinger Balls were too cold when dipped or if the chocolate was overheated. Allow the balls to warm slightly (5-10 minutes) after refrigeration before dipping, and ensure your chocolate isn’t too hot when coating.
Conclusion
These Butterfinger Balls are comfort food at its finest — little bites of nostalgic candy bar flavor transformed into an elevated homemade treat that’s impossible to resist. They’re the perfect balance of creamy, crunchy, sweet, and slightly salty, with that unmistakable Butterfinger taste in every bite. It’s the kind of dessert that disappears first from any dessert table and has guests asking for your secret recipe. Whether you’re satisfying your own sweet tooth or sharing with loved ones, these irresistible treats prove that sometimes the most impressive desserts are also the simplest to make.
Print
Butterfinger Balls Recipe
- Prep Time: 30 minutes
- Cook Time: 0 minutes
- Total Time: 1 hour
- Yield: 24 Butterfinger Balls 1x
- Category: Dessert
- Method: No-bake
- Cuisine: Americaine
Description
Butterfinger Balls Recipe: Crunchy peanut butter filling dipped in chocolate – easy, irresistible treat for all!
Ingredients
- 1 cup creamy peanut butter
- 2 cups powdered sugar
- 4 Butterfinger candy bars
- 6 tablespoons unsalted butter
- 1/4 teaspoon salt
- 1 teaspoon vanilla extract
- 2 cups chocolate chips
- 2 tablespoons vegetable shortening or coconut oil
Instructions
- Step 1: Prepare the Filling In a large mixing bowl, combine the softened butter and peanut butter, beating until completely smooth and creamy. Add the vanilla extract and salt, then mix until incorporated. Gradually add the powdered sugar, mixing at low speed to prevent a sugar cloud, until fully integrated. The mixture will become quite thick. Fold in the crushed Butterfinger pieces, distributing them evenly throughout the peanut butter mixture. The filling should hold together when pressed but still be somewhat soft.
- Step 2: Form the Balls Line a baking sheet with parchment paper. Using a tablespoon or small cookie scoop, portion out the mixture into roughly equal amounts. Roll each portion between your palms to create smooth, round balls approximately 1-inch in diameter. If the mixture becomes sticky, chill it for 10 minutes before continuing. Place the formed Butterfinger Balls on the lined baking sheet, spacing them apart to avoid touching. Refrigerate for at least 30 minutes until firm.
- Step 3: Melt the Chocolate While the balls are chilling, prepare your chocolate coating. In a microwave-safe bowl, combine chocolate chips and shortening or coconut oil. Microwave in 30-second intervals at 50% power, stirring between each interval, until completely melted and smooth. Alternatively, use a double boiler for more controlled melting. The chocolate should have a silky, flowing consistency that’s not too thick or thin. Let it cool slightly before dipping to ensure it doesn’t melt the chilled centers.
- Step 4: Dip and Decorate Remove the chilled Butterfinger Balls from the refrigerator. Working with one ball at a time, drop it into the melted chocolate. Using a fork, gently turn the ball to coat it completely, then lift it out, allowing excess chocolate to drip back into the bowl. A gentle tap of the fork on the bowl’s edge helps remove additional excess. Carefully transfer the chocolate-coated ball back to the parchment paper. If desired, immediately sprinkle a few crushed Butterfinger bits on top for decoration and to hint at what’s inside. Repeat with remaining balls.
- Step 5: Set and Store Allow the chocolate-coated Butterfinger Balls to set completely at room temperature, which typically takes about an hour, or speed up the process by refrigerating them for 15-20 minutes. Once set, transfer to an airtight container, separating layers with parchment paper to prevent sticking. For the best flavor experience, let them sit at room temperature for about 10 minutes before serving to allow the centers to soften slightly.
Notes
Fresh ingredients will always yield the best flavor results.
Nutrition
- Serving Size: 1 ball
- Calories: 160 calories
- Sugar: 14 grams
- Sodium: 90 mg
- Fat: 10 grams
- Saturated Fat: 4 grams
- Unsaturated Fat: 6 grams
- Trans Fat: 0 grams
- Carbohydrates: 16 grams
- Fiber: 1 gram
- Protein: 3 grams
- Cholesterol: 5 mg


